The information provided below, is meant to help aid in a quality installation of your new console decals. Please use care when handling these new decals.
It is also very important that the metal and plastic surfaces be extremely clean before bonding the new decals. Adhesive manufactures remind us that the right choice of adhesive is responsible for only 50% of the adhesion strength and the other 50% is dependent on the surface preparation.
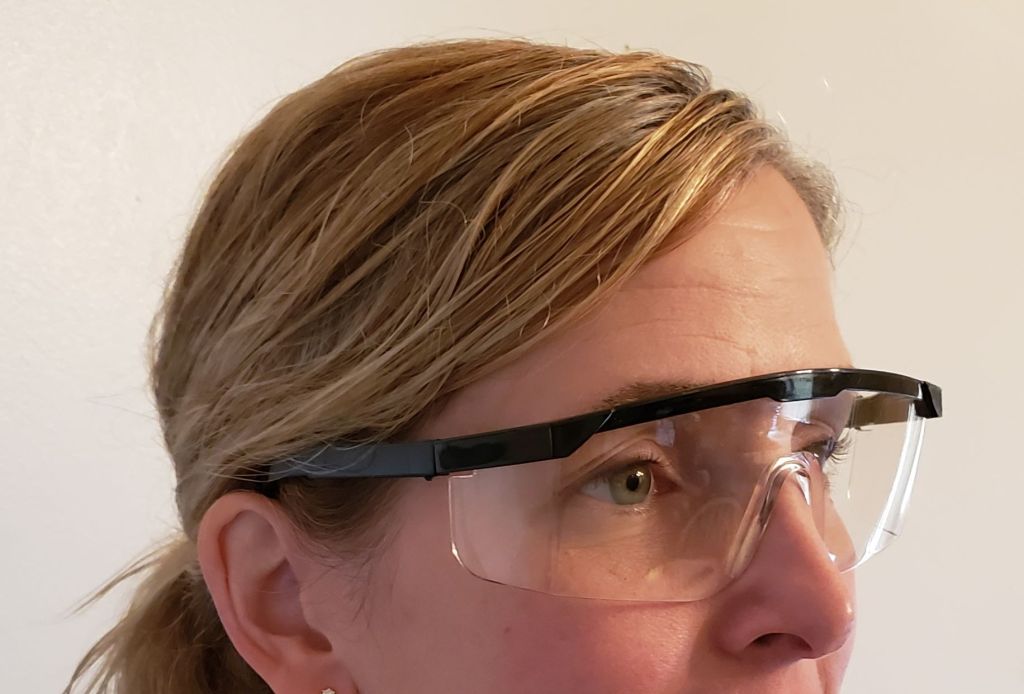
The use of safety glasses and disposable gloves is encouraged during the procedures below.
Installation Overview
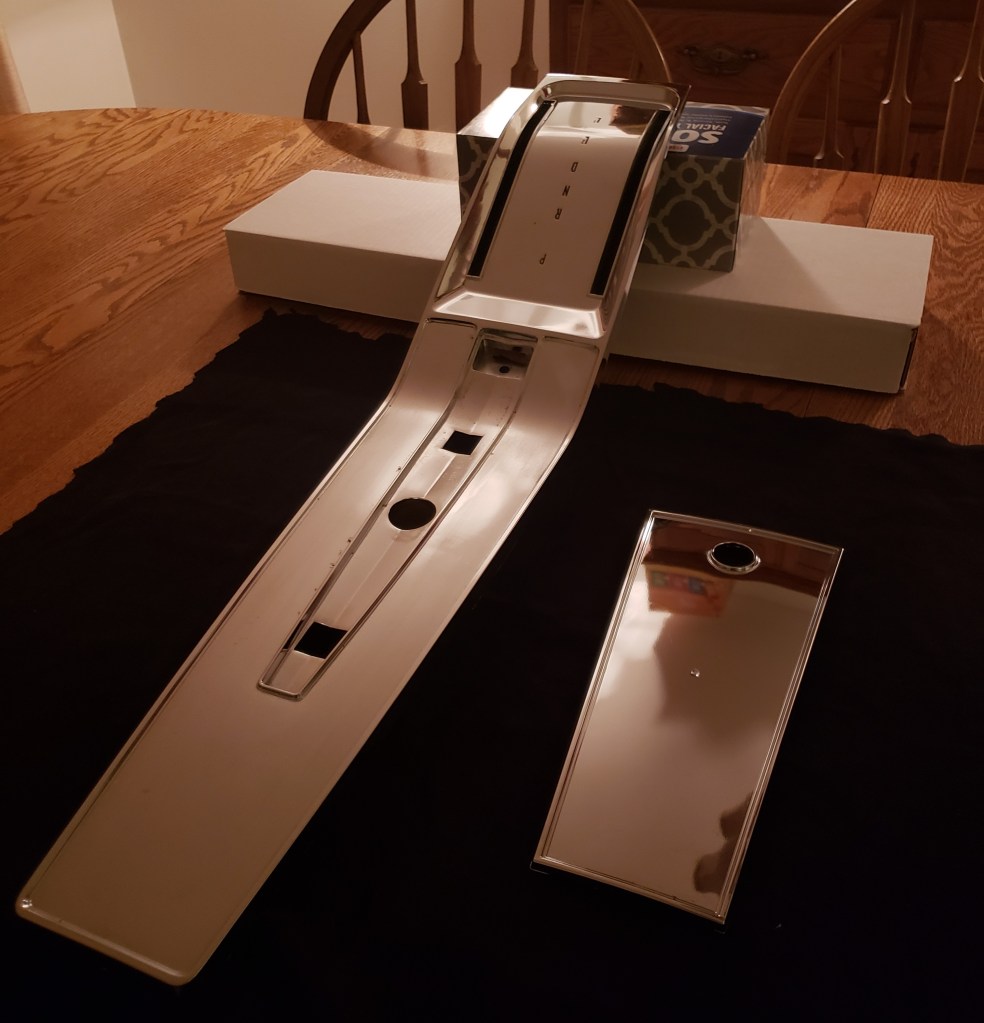
The ideal time to install the new decals is while the chrome console pieces are out of the car. A well lit, clean, flat, and stable surface to work on is very helpful. I chose to do this job on a protective mat set on top of a sturdy table.
Assemble the following

- New Wood Grain Decals (Included in the Kit)
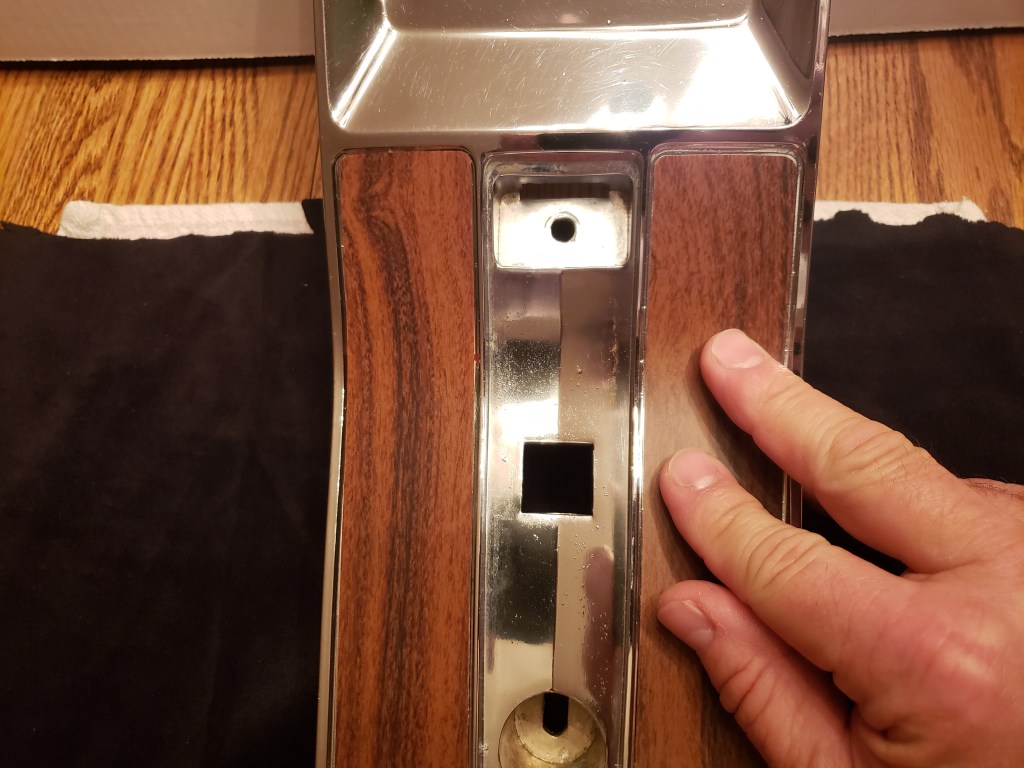
- Two (2) Chrome Console Pieces (Shown Above)
- Small Flat Blade Screw Driver
- Protective Mat
- Safety Glasses
- Rubber Gloves
- Dish Soap
- Adhesive Remover (Goo Gone or Equivalent)
- Alcohol Wipes (Included in the kit)
- Clean Rag
- Small Brush
- Hair Dryer


Personal Protective Equipment
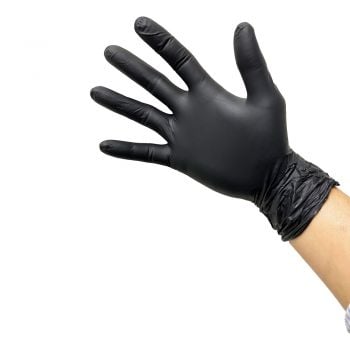
Put on disposable gloves and safety glasses to protect skin and eyes.
Remove Old Decals
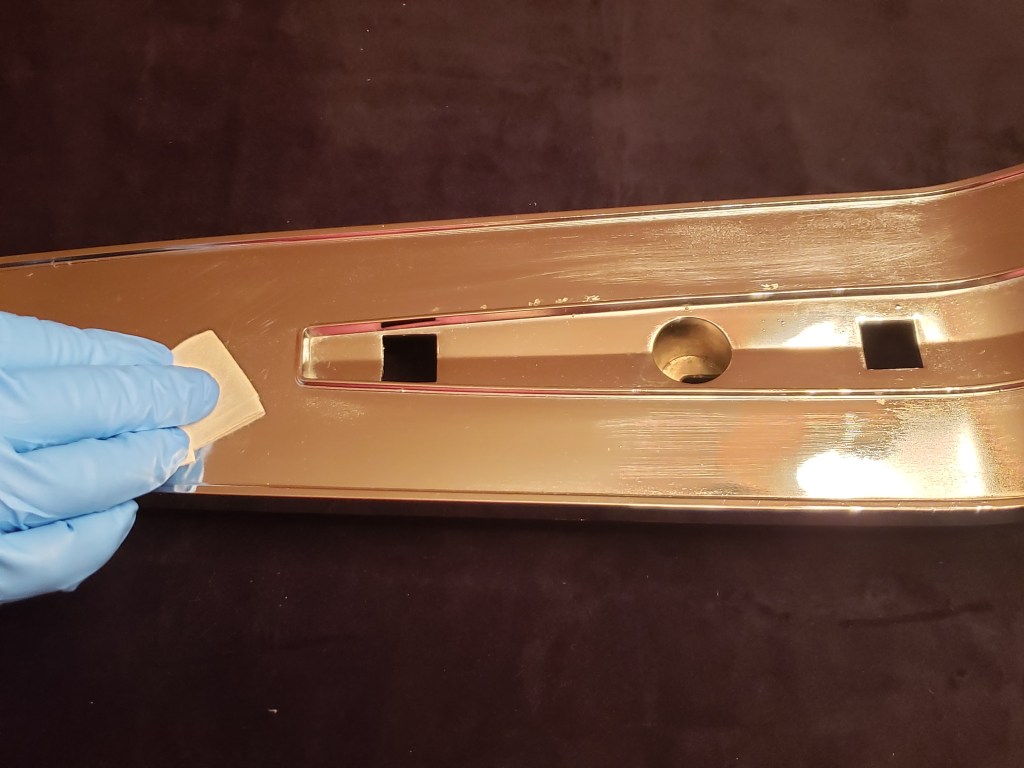
Removing the original decals can be accomplished using both hands and a small flat blade screw driver. The first goal is to get an edge peeled up. A good place to start might be already be peeling off. Otherwise, I recommend starting on the outside perimeter. GENTLY pry up on the old decal using the screw driver as a mini scraper to get an edge up. Then, simultaneously pull back that edge while GENTLY scraping underneath until the decal is completely removed. Be careful not to mar the surfaces (using a hair dryer to warm up the old adhesive can be very helpful in removing them).


Process demonstrated above can be applied to remove old console decals as well
Remove Old Adhesive
Use Goo Gone (or an equivalent adhesive remover which is safe to be used on metal and plastic) and a clean rag to remove any remnants of the old glue.
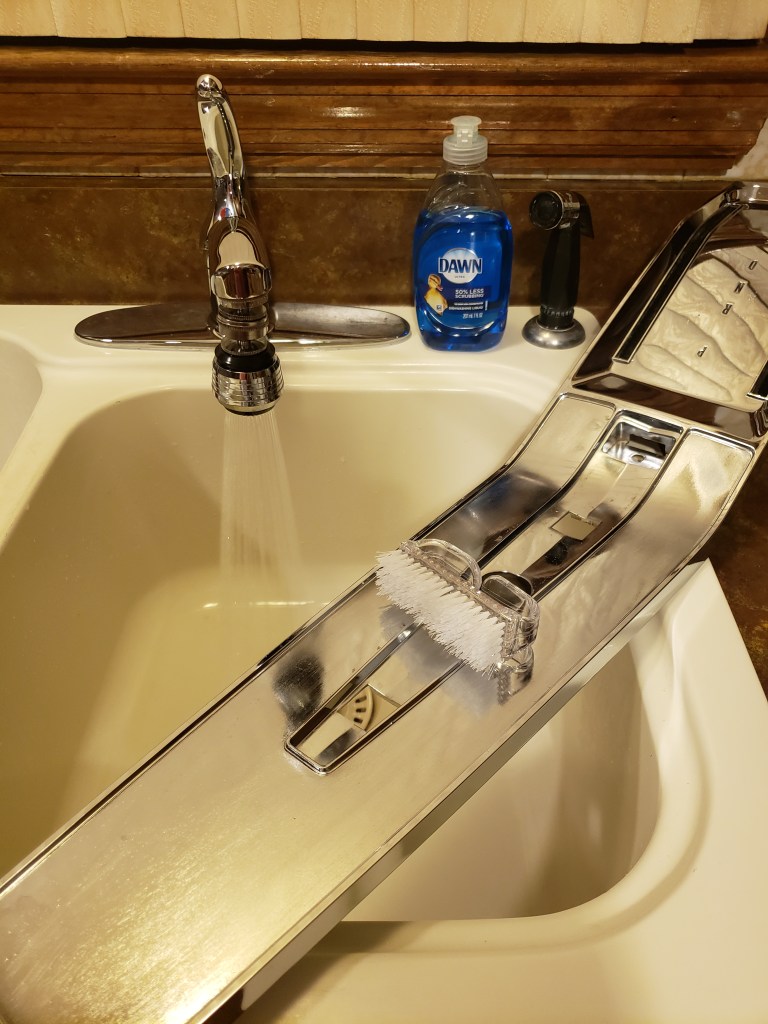
Wash Surfaces
Use water, dish soap, and a small brush to clean the surfaces. This will remove any remaining dirt or grease to promote good adhesion. Finally, towel the water off and let completely air dry.
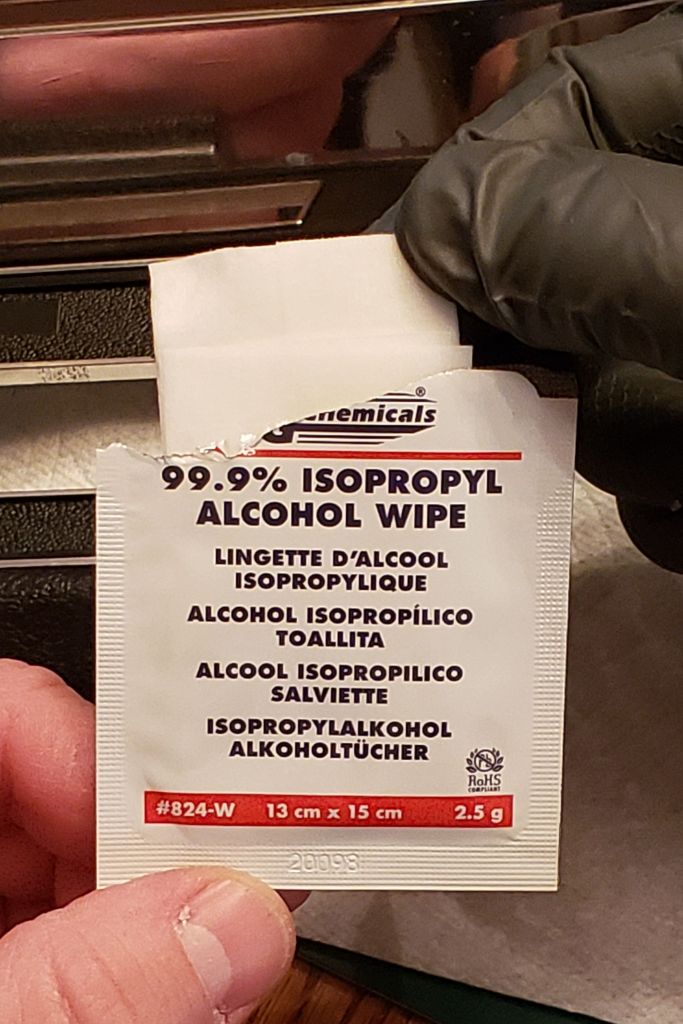
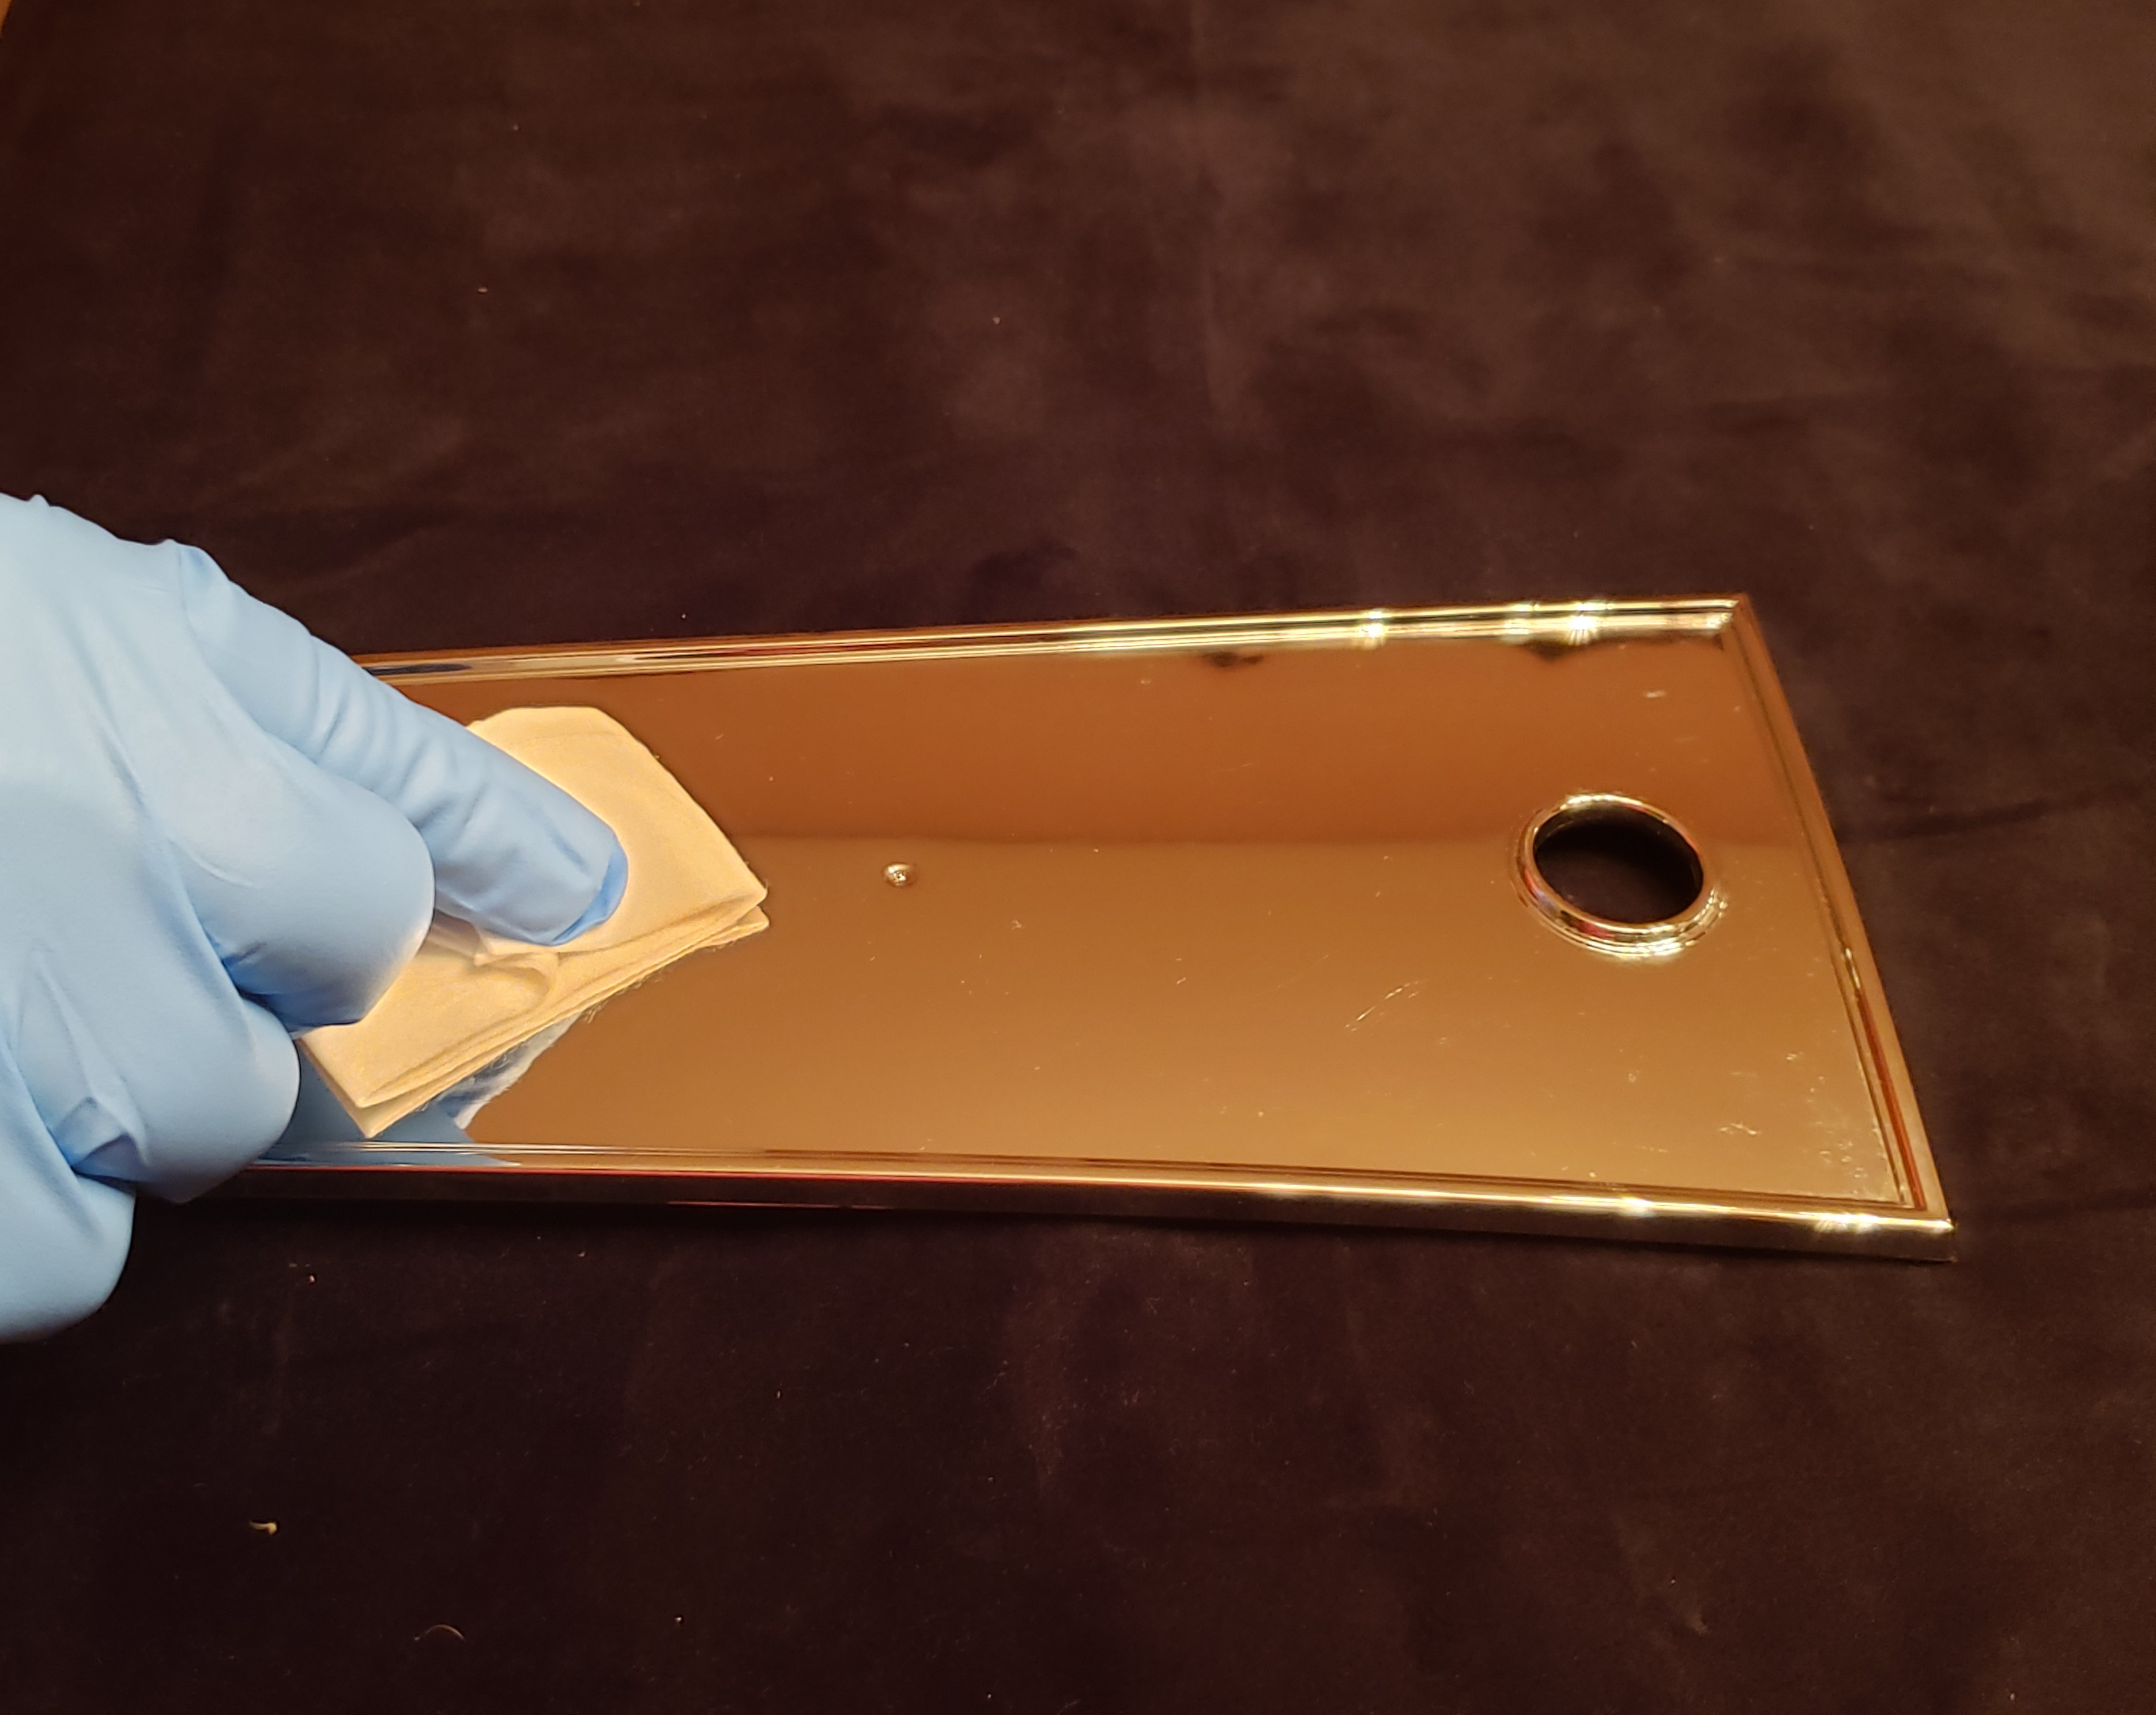
Final Cleaning
Place both chrome pieces on a protective mat set on top of a sturdy, clean, and well lit table. Position them so that they are flat and level. Use the two alcohol wipes (provided) to clean and remove any surface oils off the areas to be bonded. The 99% isopropyl alcohol wipes are recommended by 3M to ensure an oil-free surface so that maximum bonding strength will be achieved.

Decal Placement Overview
This step requires full concentration. The 3M adhesive is extremely sticky so you will need to place the decals down accurately on the clean surfaces on the first attempt.
I recommend using an assistant to help with the trial run as well as the final placement. Please see detailed steps below.
“U” – Shaped Decal Placement
Step 1 – Trial Run Positioning
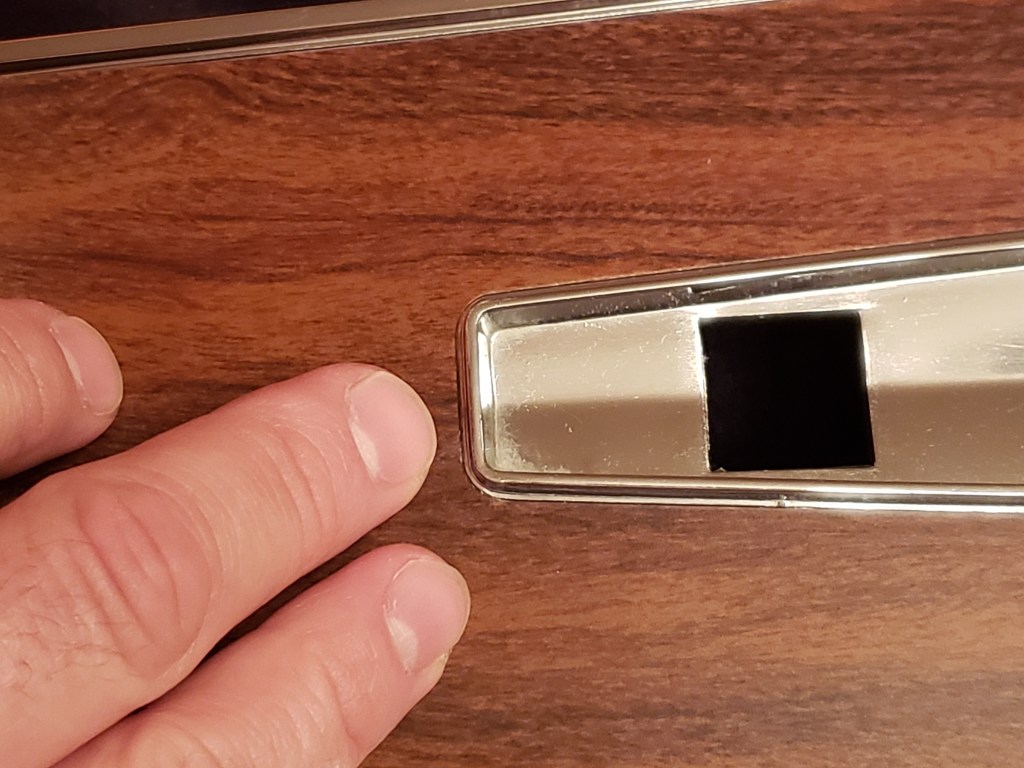
Due to the curvature and size of this chrome piece, I recommend using an assistant to help place the decal in position. This will allow you to check and make sure it will fit nicely BEFORE peeling off the 3M adhesive backing. Please pay special attention to the area in the picture to the right so you do not place the decal on the large or small lip. The decal should fit snuggly around the “U” shaped feature which will allow the rest of the decal to be centered.

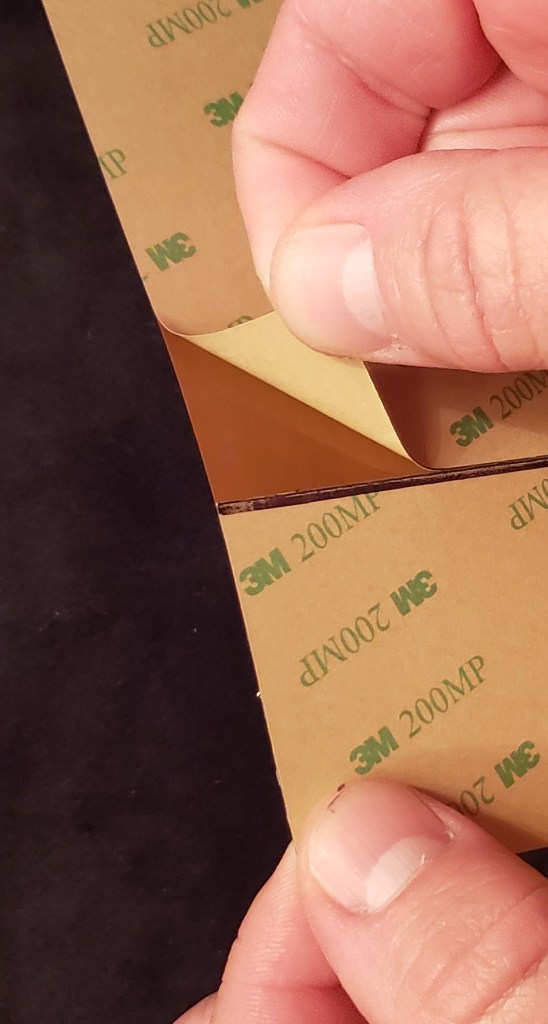
Step 2 – Preparing the 3M Backing Sheet
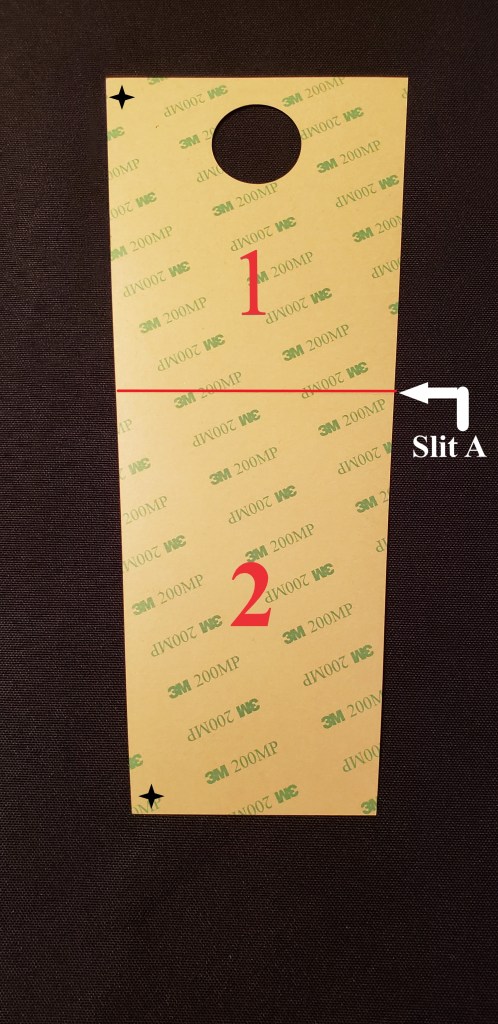
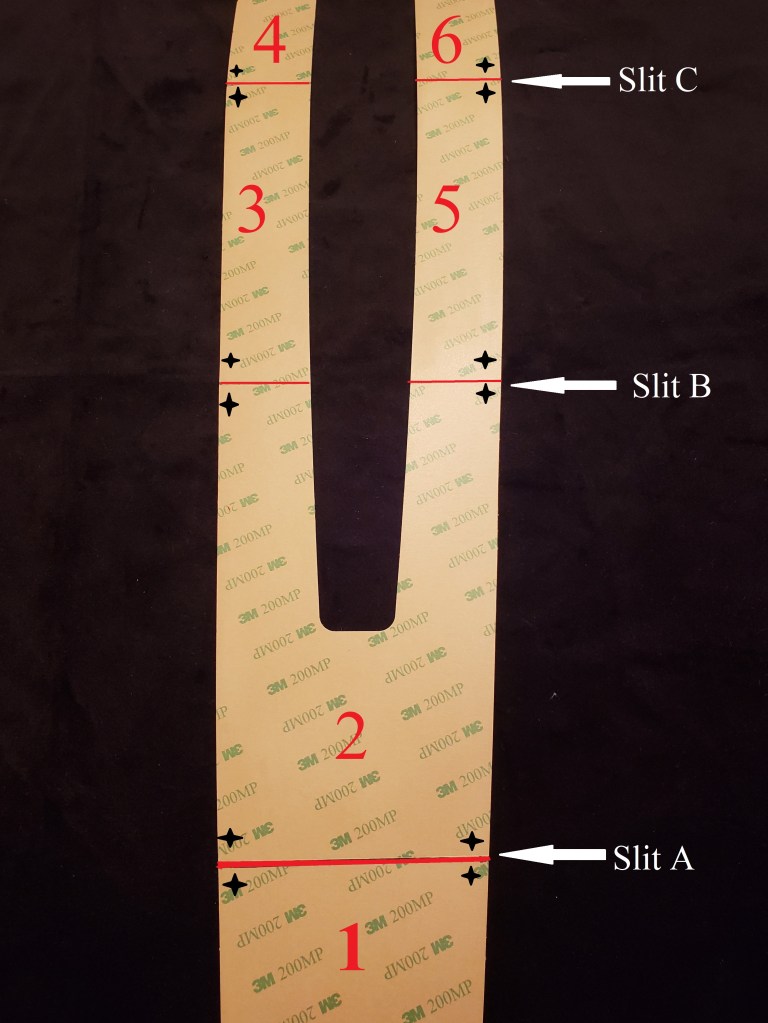
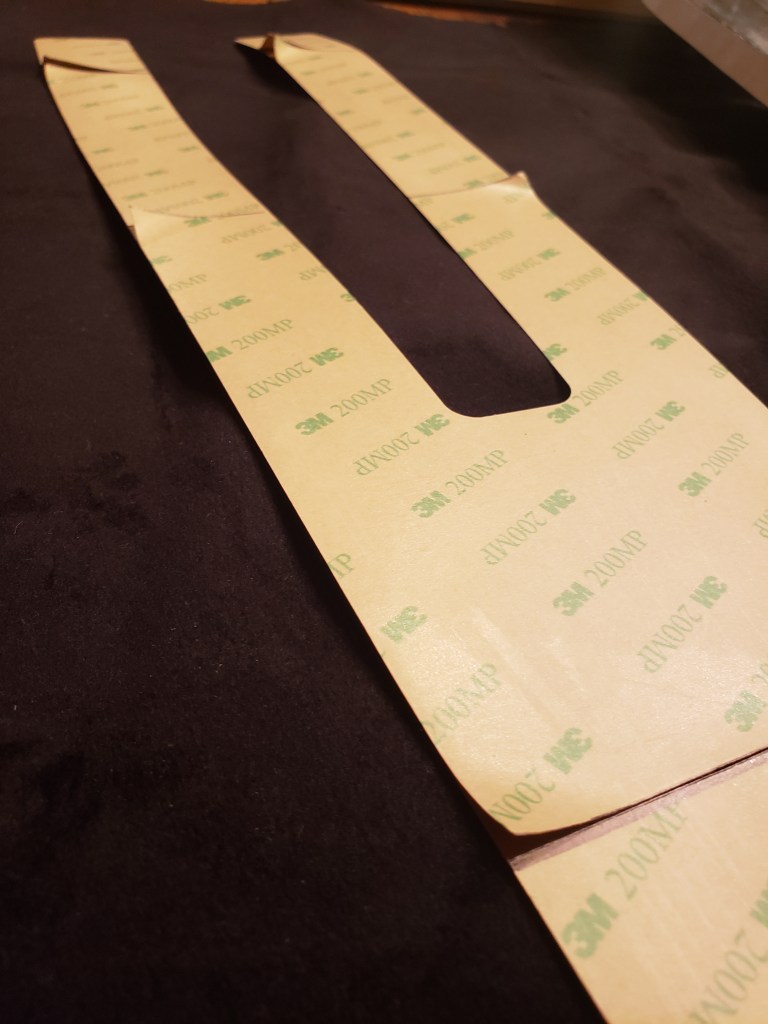
Place the decal face down with the peel off backing facing up (figure 1). Notice each slit is highlighted in red and labeled A, B, and C. You will want to peel the backing sheet corners up (noted with (+) symbols in figure 1 and shown in figure 2). Getting the corners started will help in later steps. Make sure to lightly push them back down before proceeding.
Step 3- Final Placement
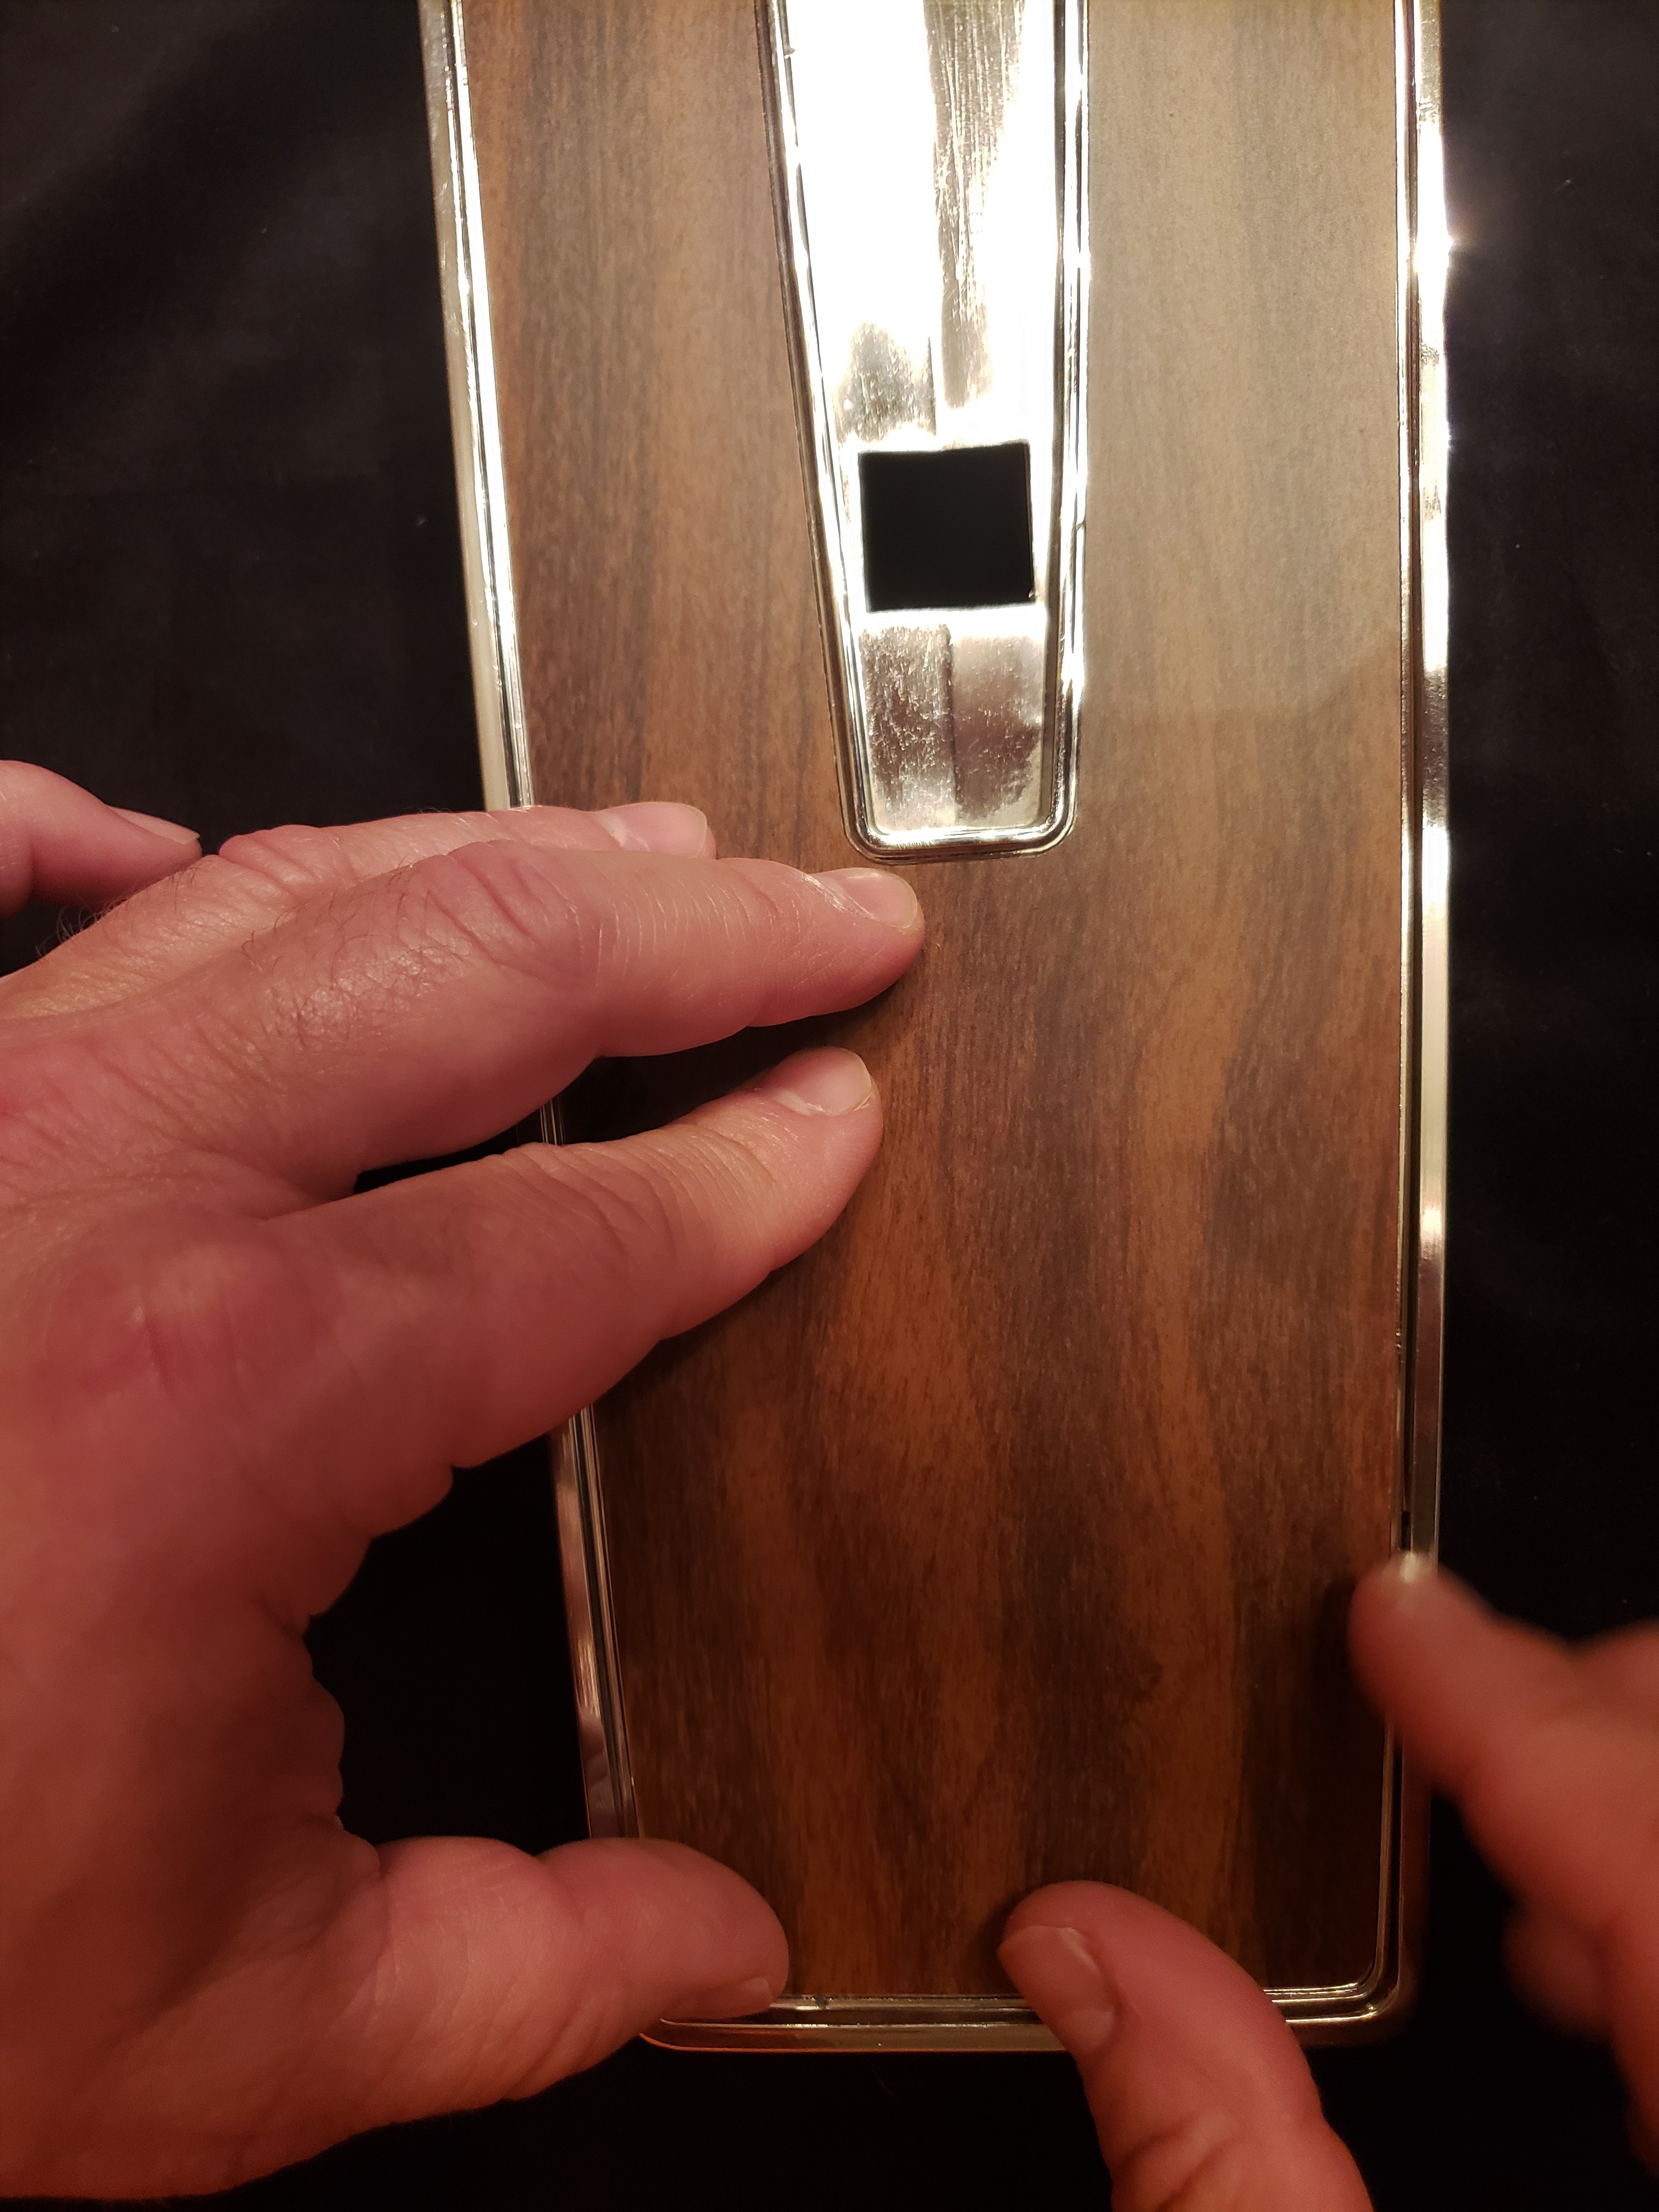
Place the decal (with backing stiill on) with your assitant in the desired spot obtained in step 1 / trial run. Hold down sections 1 & 2 while your assitant holds down sections 3-6.


Step 4- Backing Section #1
Lift up decal as shown (in left picture) and peel off backing section #1 (fig. 1) while assistant is still holding down sections 2-6. Carefully lay decal (with adhesive now exposed) down starting from slit A working your way to the end (don’t apply hard pressure near slit A until step 5, this way you’ll have a little room to pull off backing section #2). Be sure to smooth out any air bubbles while applying gentle pressure to secure it to the chrome piece.
Step 5- Backing Section #2
With section #1 now secured, sections 2-6 no longer need to be held down. Peel off the backing under section #2 while assitant supports sections 2-6. Then continue to apply gentle pressure where you left off on section #1 (below slit A) and move upward into section #2 to secure it to the chrome console piece. Don’t put pressure near (slit B) yet so that you’ll have a little room to pull off backing section #3.


Step 6-Backing Section #3
Peel off the backing under section #3. Then continue to apply gentle pressure where you left off on section #2 and move upward into section #3 to secure it to the chrome console piece. Don’t put pressure near (slit C) yet so that you’ll have a little room to pull off backing section #4.
Step 7-Backing Section #4
Peel off the backing under section #4. Then continue to apply gentle pressure where you left off on section #3 and move upward into section #4 to secure it to the chrome console piece. Repeat steps 6 & 7 for sections 5 & 6.
Step 8- Final Pressure
Apply pressure along the entire length of this new decal for approximately 10-15 minutes by hand with a clean rag to allow adhesive to fully bond.
Trapezoid Shape Decal Placement
Trapezoid Decal Placement
Please use the same methodolgy outlined above in steps 1- 8 for the “U” – Shaped decal to install the Trapezoid piece. No assistant is needed since this decal is much smaller. Please note that it only has one slit labeled “A” and two backing sections (in right picture). Don’t forget to peel the backing sheet corners up noted with (+) symbols. Getting the corners started will help in later steps. Make sure to lightly push them back down before proceeding. I recommend laying section 1 down first (top near the button), then working your way down to section 2. Wishing you a smooth installation!