The information provided below, is meant to help aid in a quality installation of your new dashboard inserts on either the OEM or aftermarket bezels. Please use care when handling these new inserts.
It is also very important that the plastic bezel surfaces be extremely clean before bonding the new inserts. Adhesive manufactures remind us that the right choice of adhesive is responsible for only 50% of the adhesion strength. The other 50% is dependent on the surface preparation.
The use of safety glasses and disposable gloves is encouraged during the procedures below.
Installation Overview
The ideal time to install the new inserts is while the dash and radio bezels are out of the car. I say this for three reasons.
The first reason is, that for this kind of job, having a well lit, clean, flat, and stable surface to work on is very helpful. I chose to do this job on a protective mat set on top of a sturdy table.
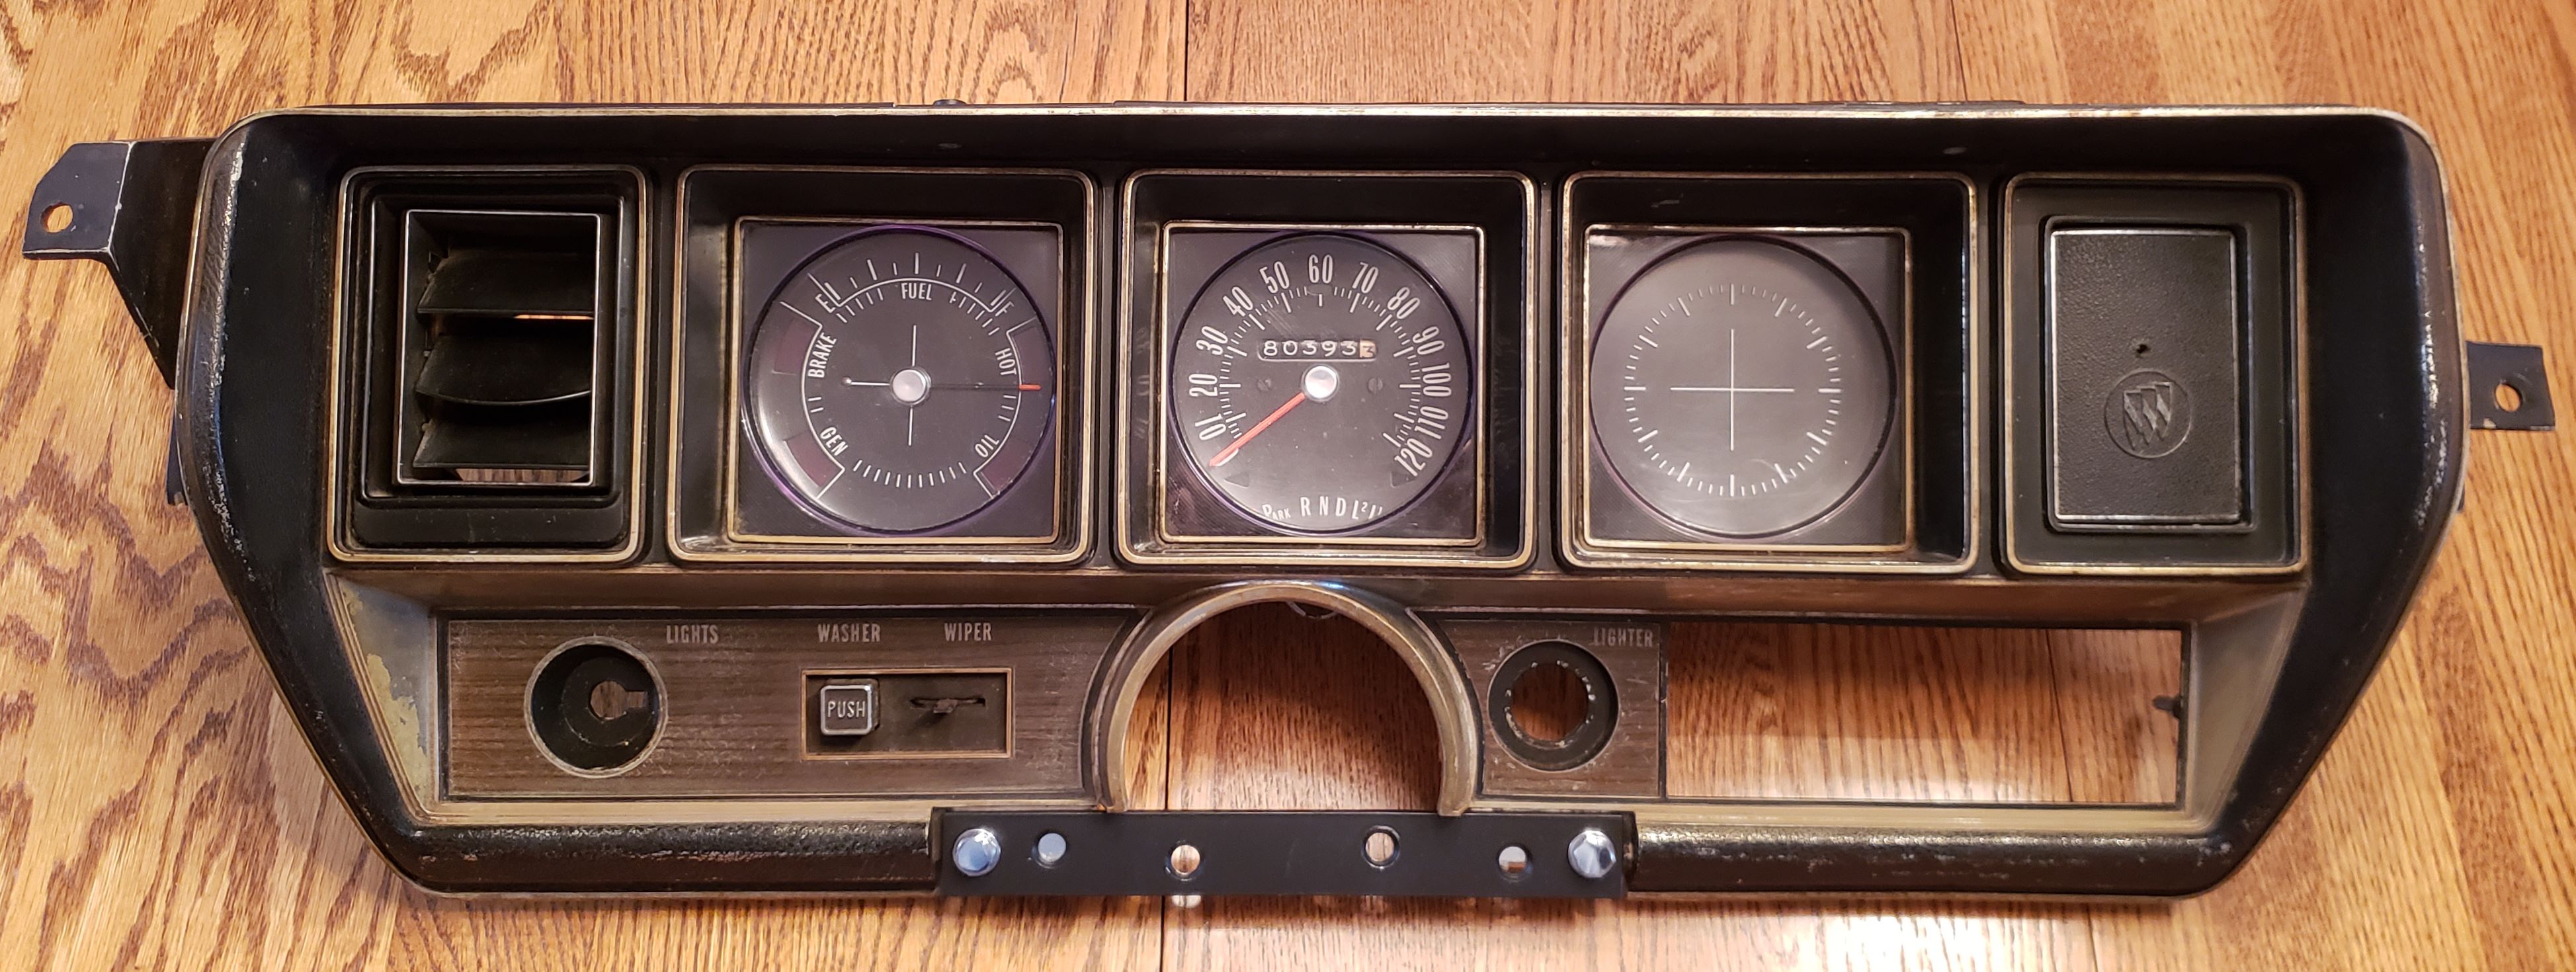
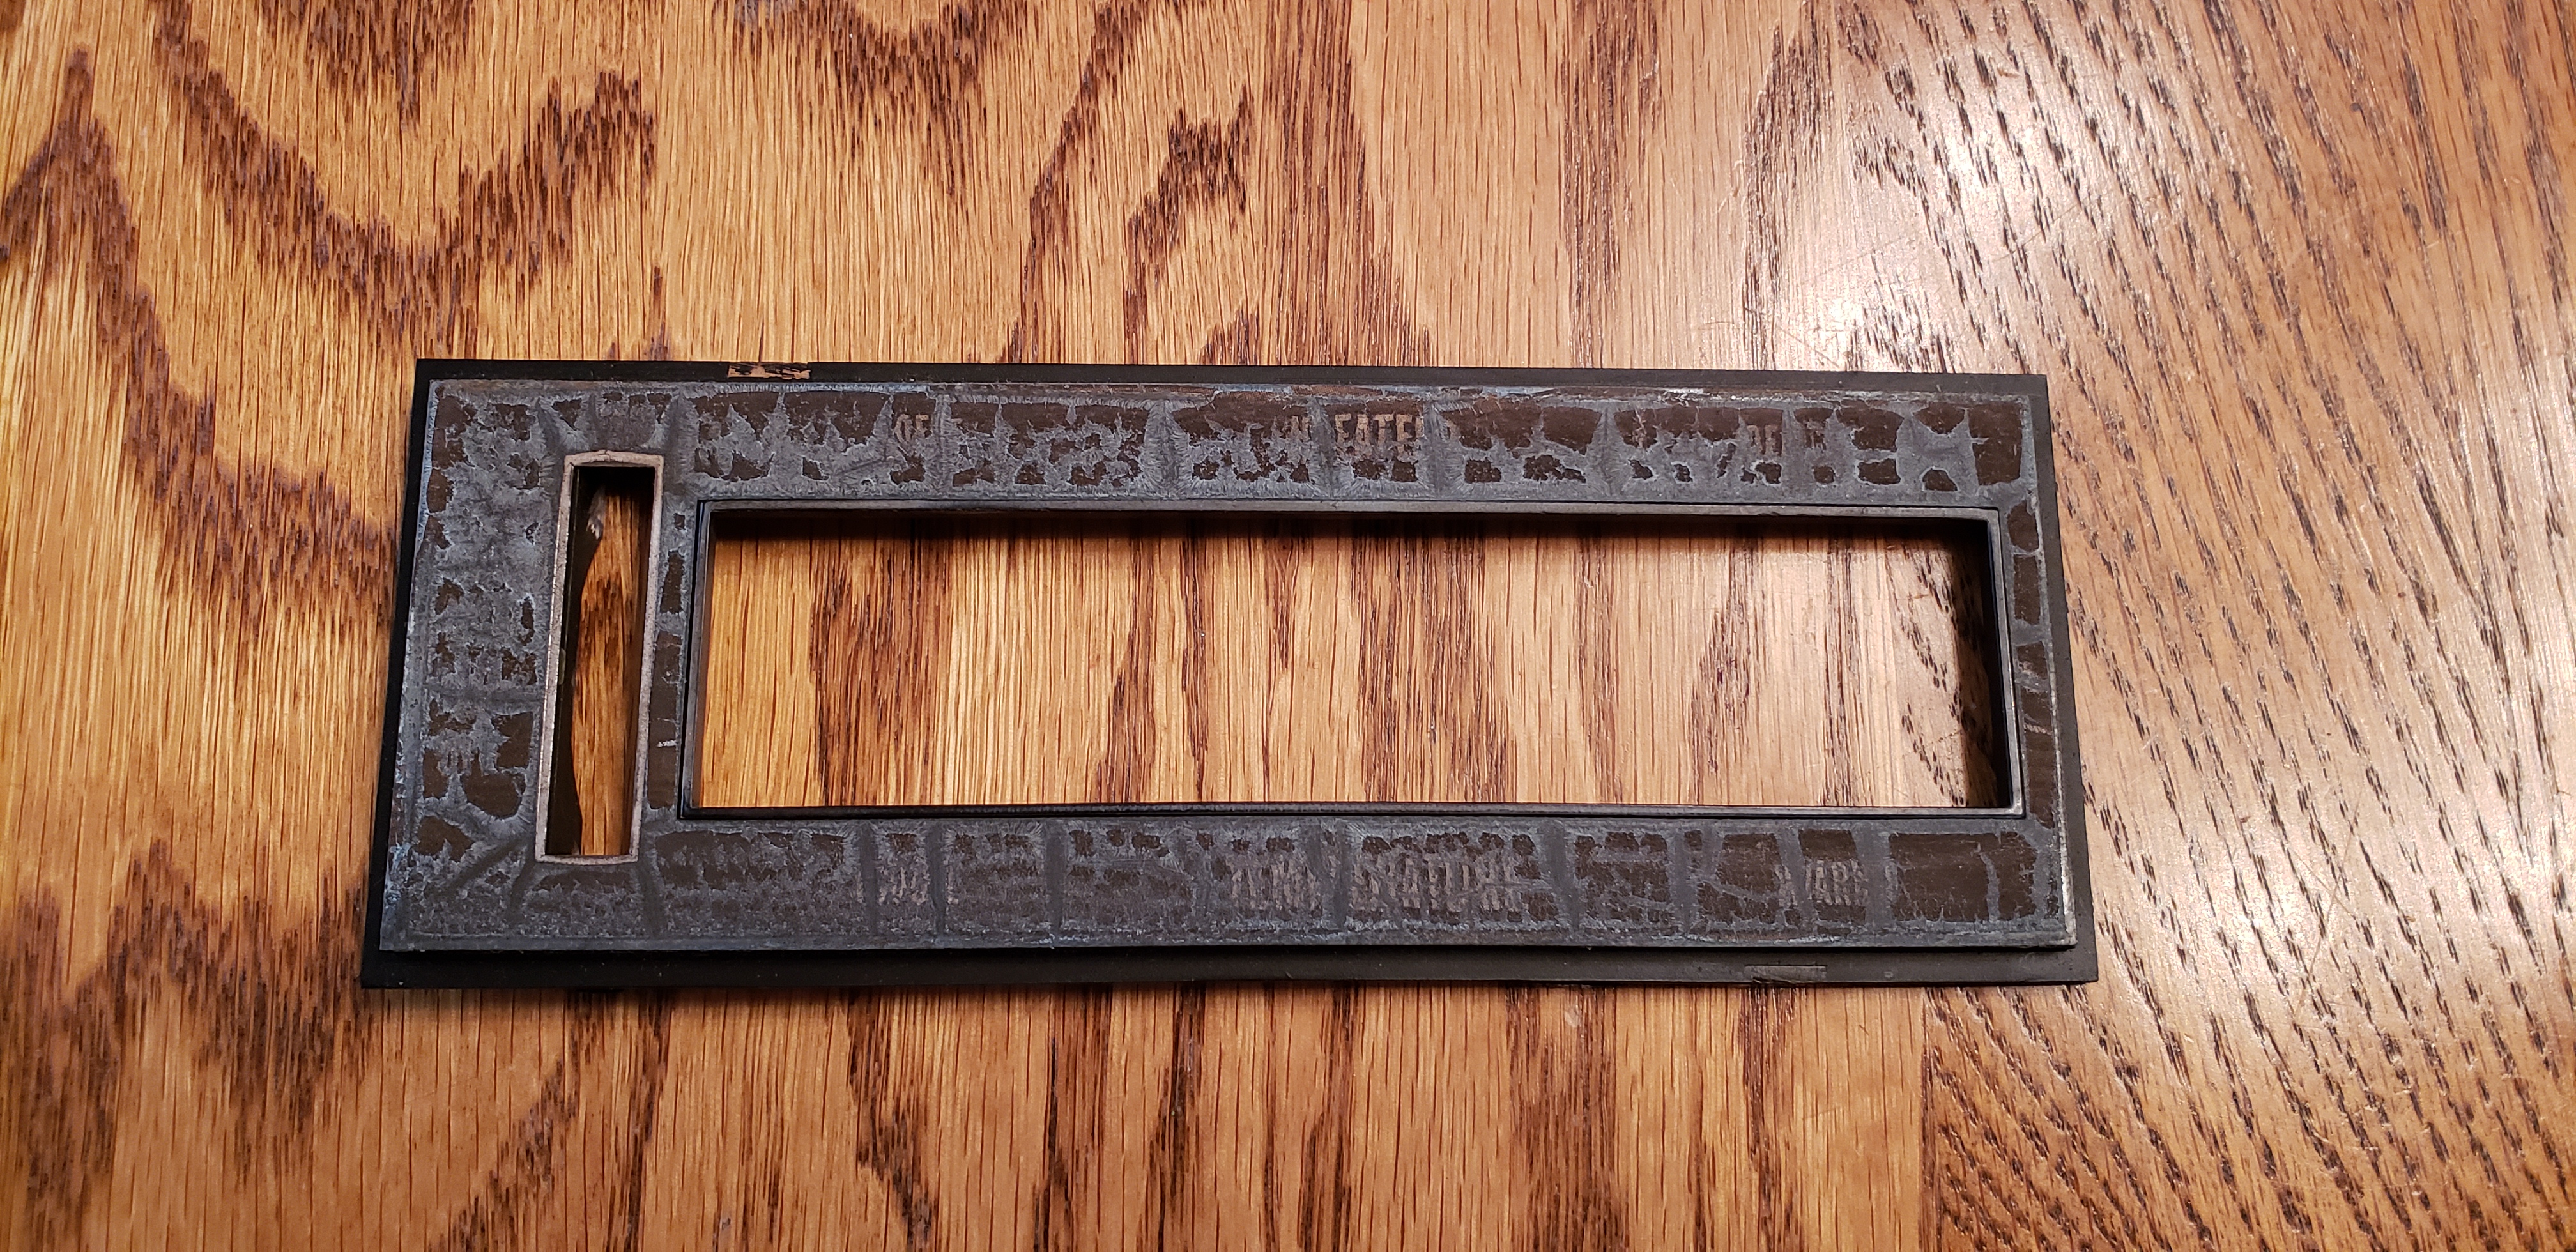
The second reason is the climate/heater control needs to be separated from the dash bezel (figure 1) in order to install its insert properly. The reason for this is that the insert is physically mounted from behind and is overlapped by the bezel frame around its perimeter (figure 2). From my experience, I had better results from reattaching the climate/heater control (w/new insert on face-plate) to the back of the bezel while on the work bench. Then you can install the completed assembly in the car.
Lastly, the head-light switch, washerwiper switch, lighter assembly, and radio knob assemblies need to be removed from the bezels before starting, because they will sit on top of the new inserts just like they did on the OEM models.

Figure 1

Figure 2
Installation Procedure
Assemble the following

- New Wood Grain Inserts (Included in the Kit)
- Dash Bezel
- Heater / Climate Control Face Plate
- Radio Bezel
- Small Flat Blade Screw Driver
- Protective Mat
- Safety Glasses
- Rubber Gloves
- Dish Soap
- Adhesive Remover (Goo Gone or Equivalent)
- Alcohol Wipes (Included in the kit)
- Clean Rag
- Small Brush


Personal Protective Equipment

Put on disposable gloves and safety glasses to protect skin and eyes.

Remove Old Insert
Removing the original inserts can be accomplished using both hands and a small flat blade screw driver. The first goal is to get an edge peeled up. A good place to start is in a spot that might already be starting to peel off. Otherwise, I recommend starting on the inside of the circles or anywhere on the outside perimeter of the climate / heater control piece. GENTLY pry up on the old insert using the screw driver as a mini scraper to get an edge up. Then, simultaneously pull back that edge while GENTLY scraping underneath until the insert is completely removed. Just be careful not to mar the plastic surfaces.


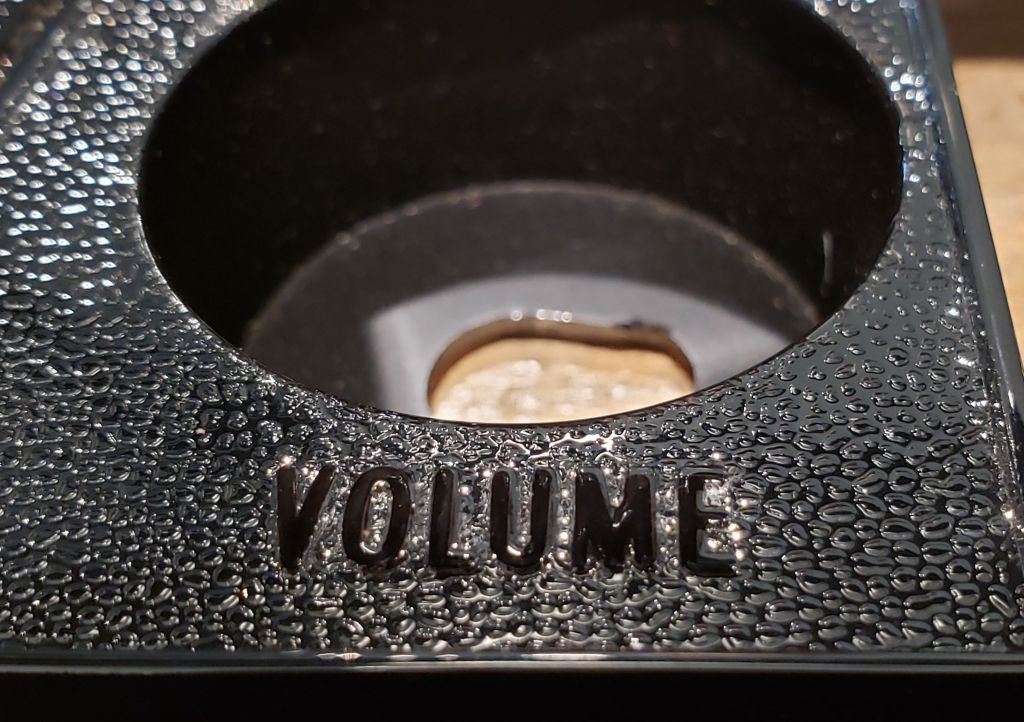
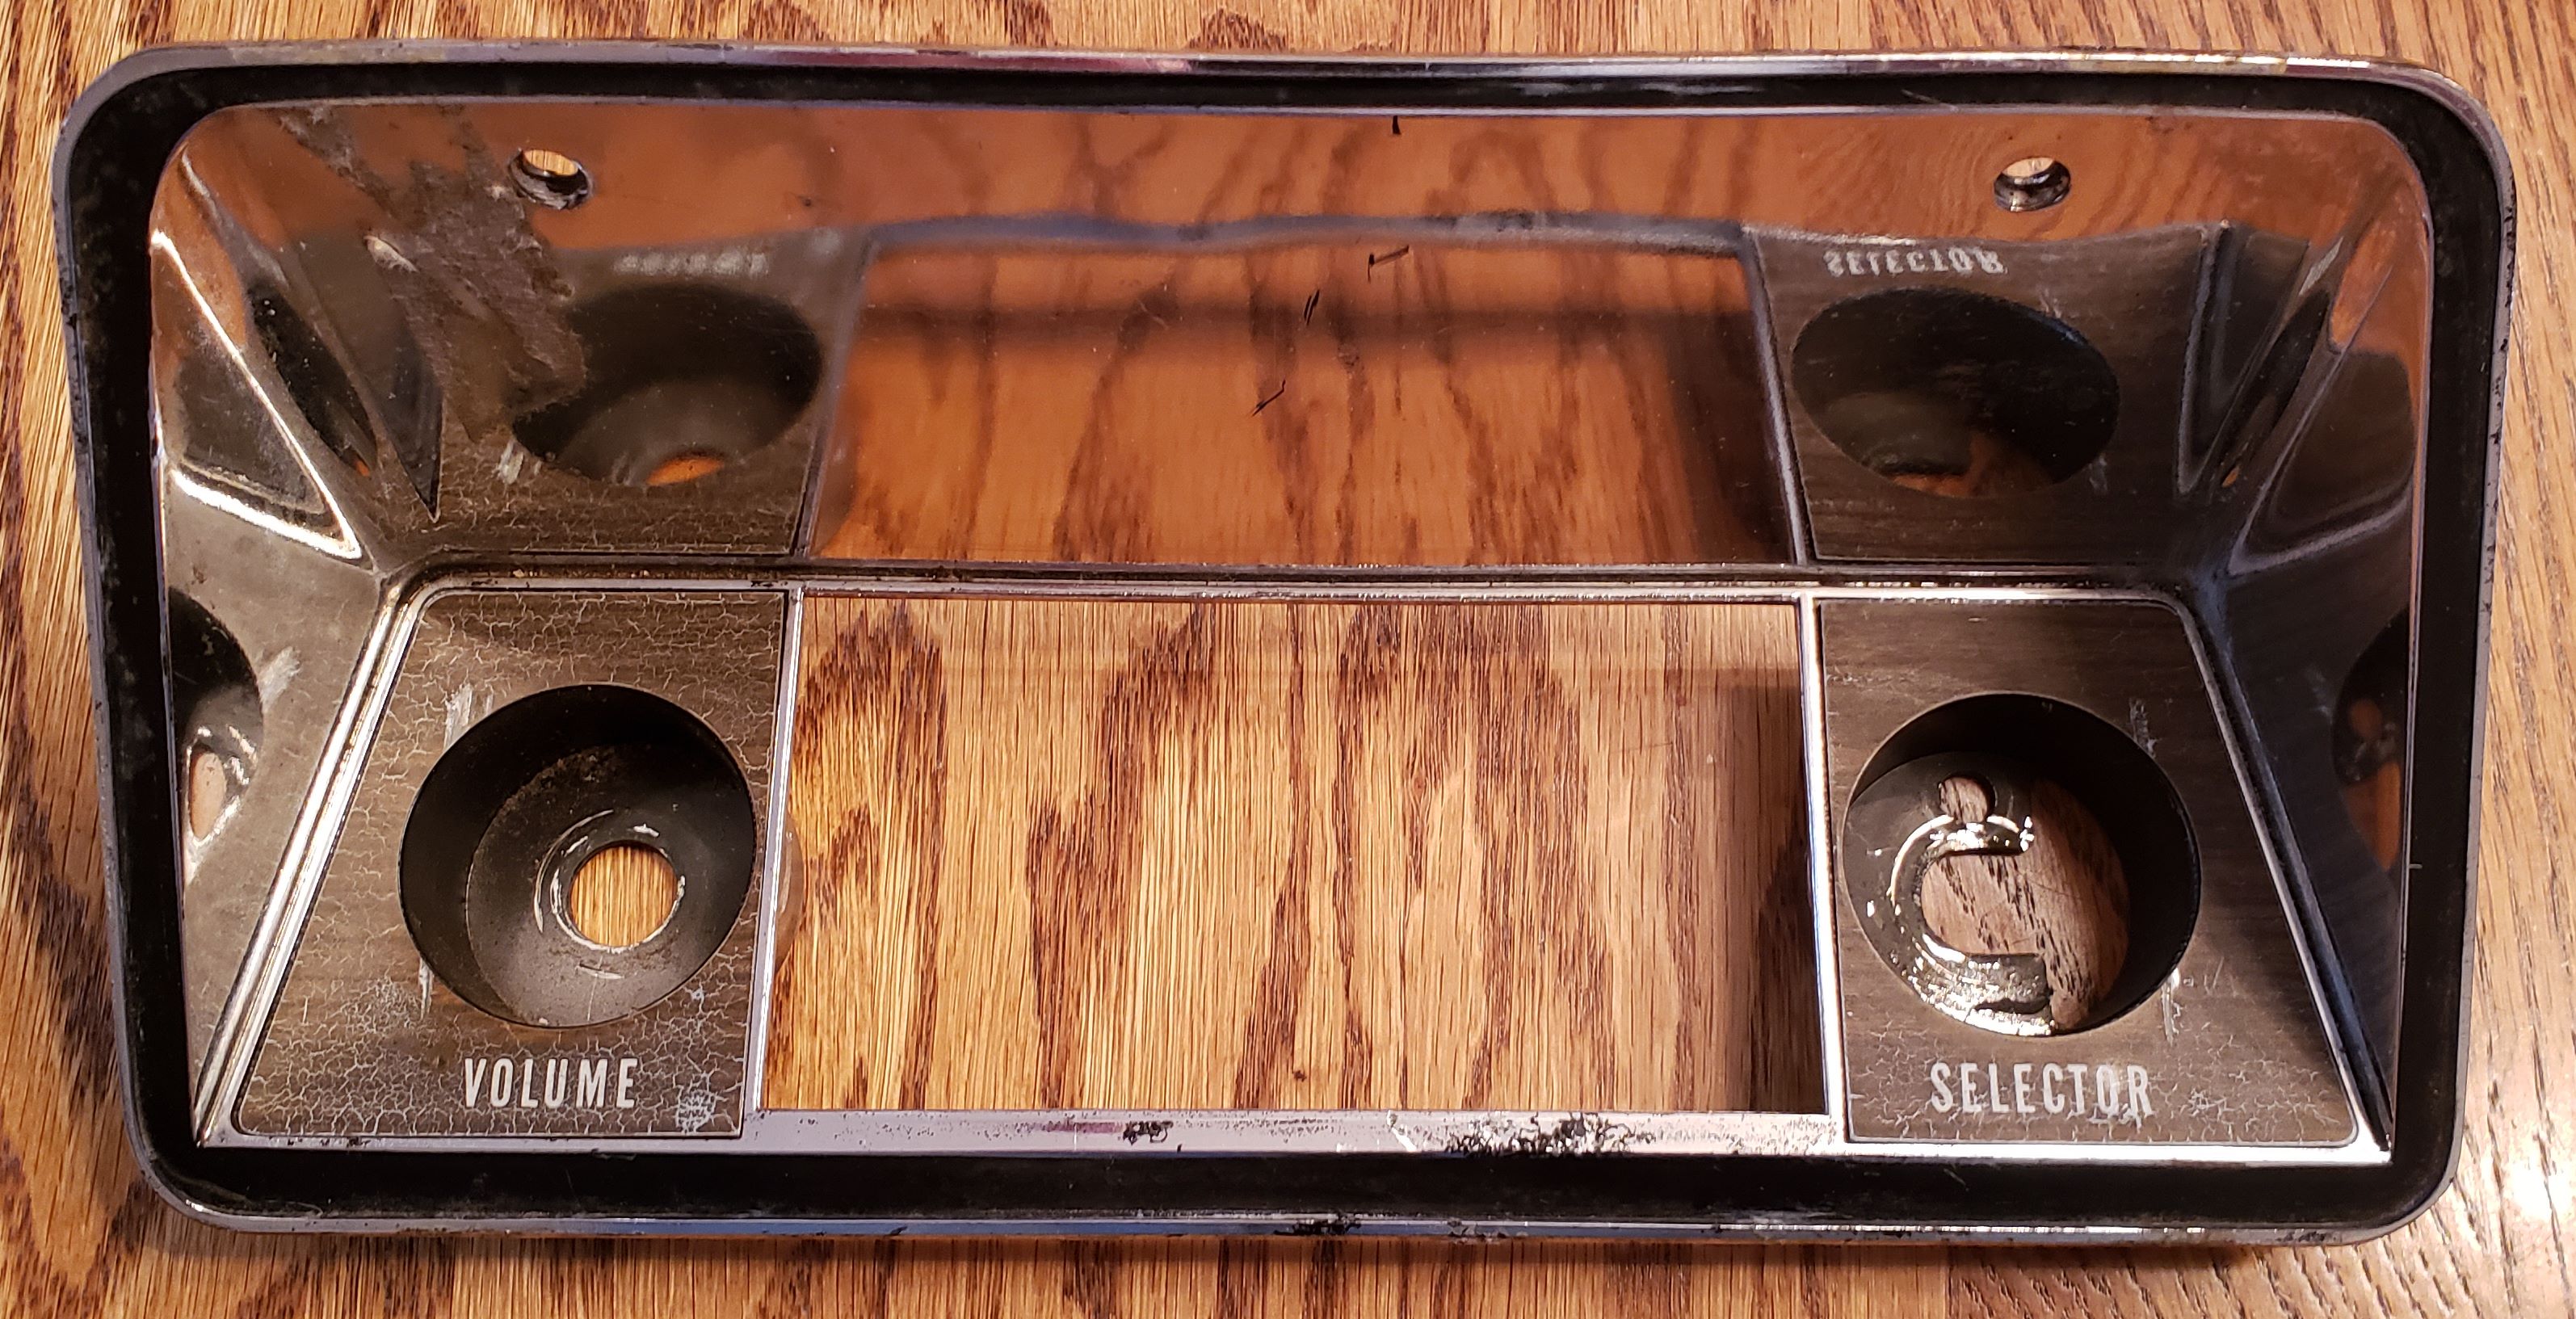
*Aftermarket Radio Bezel*
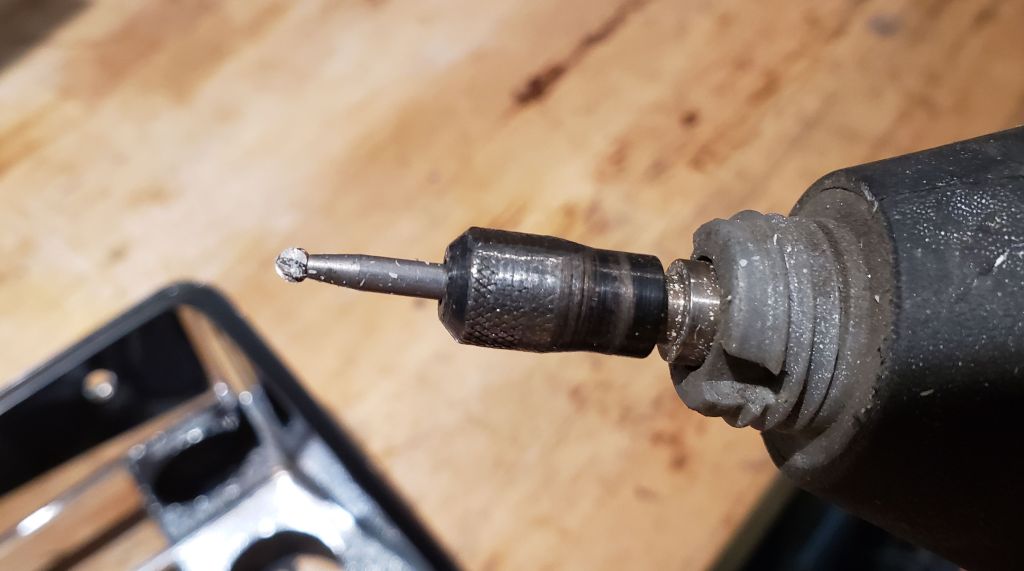
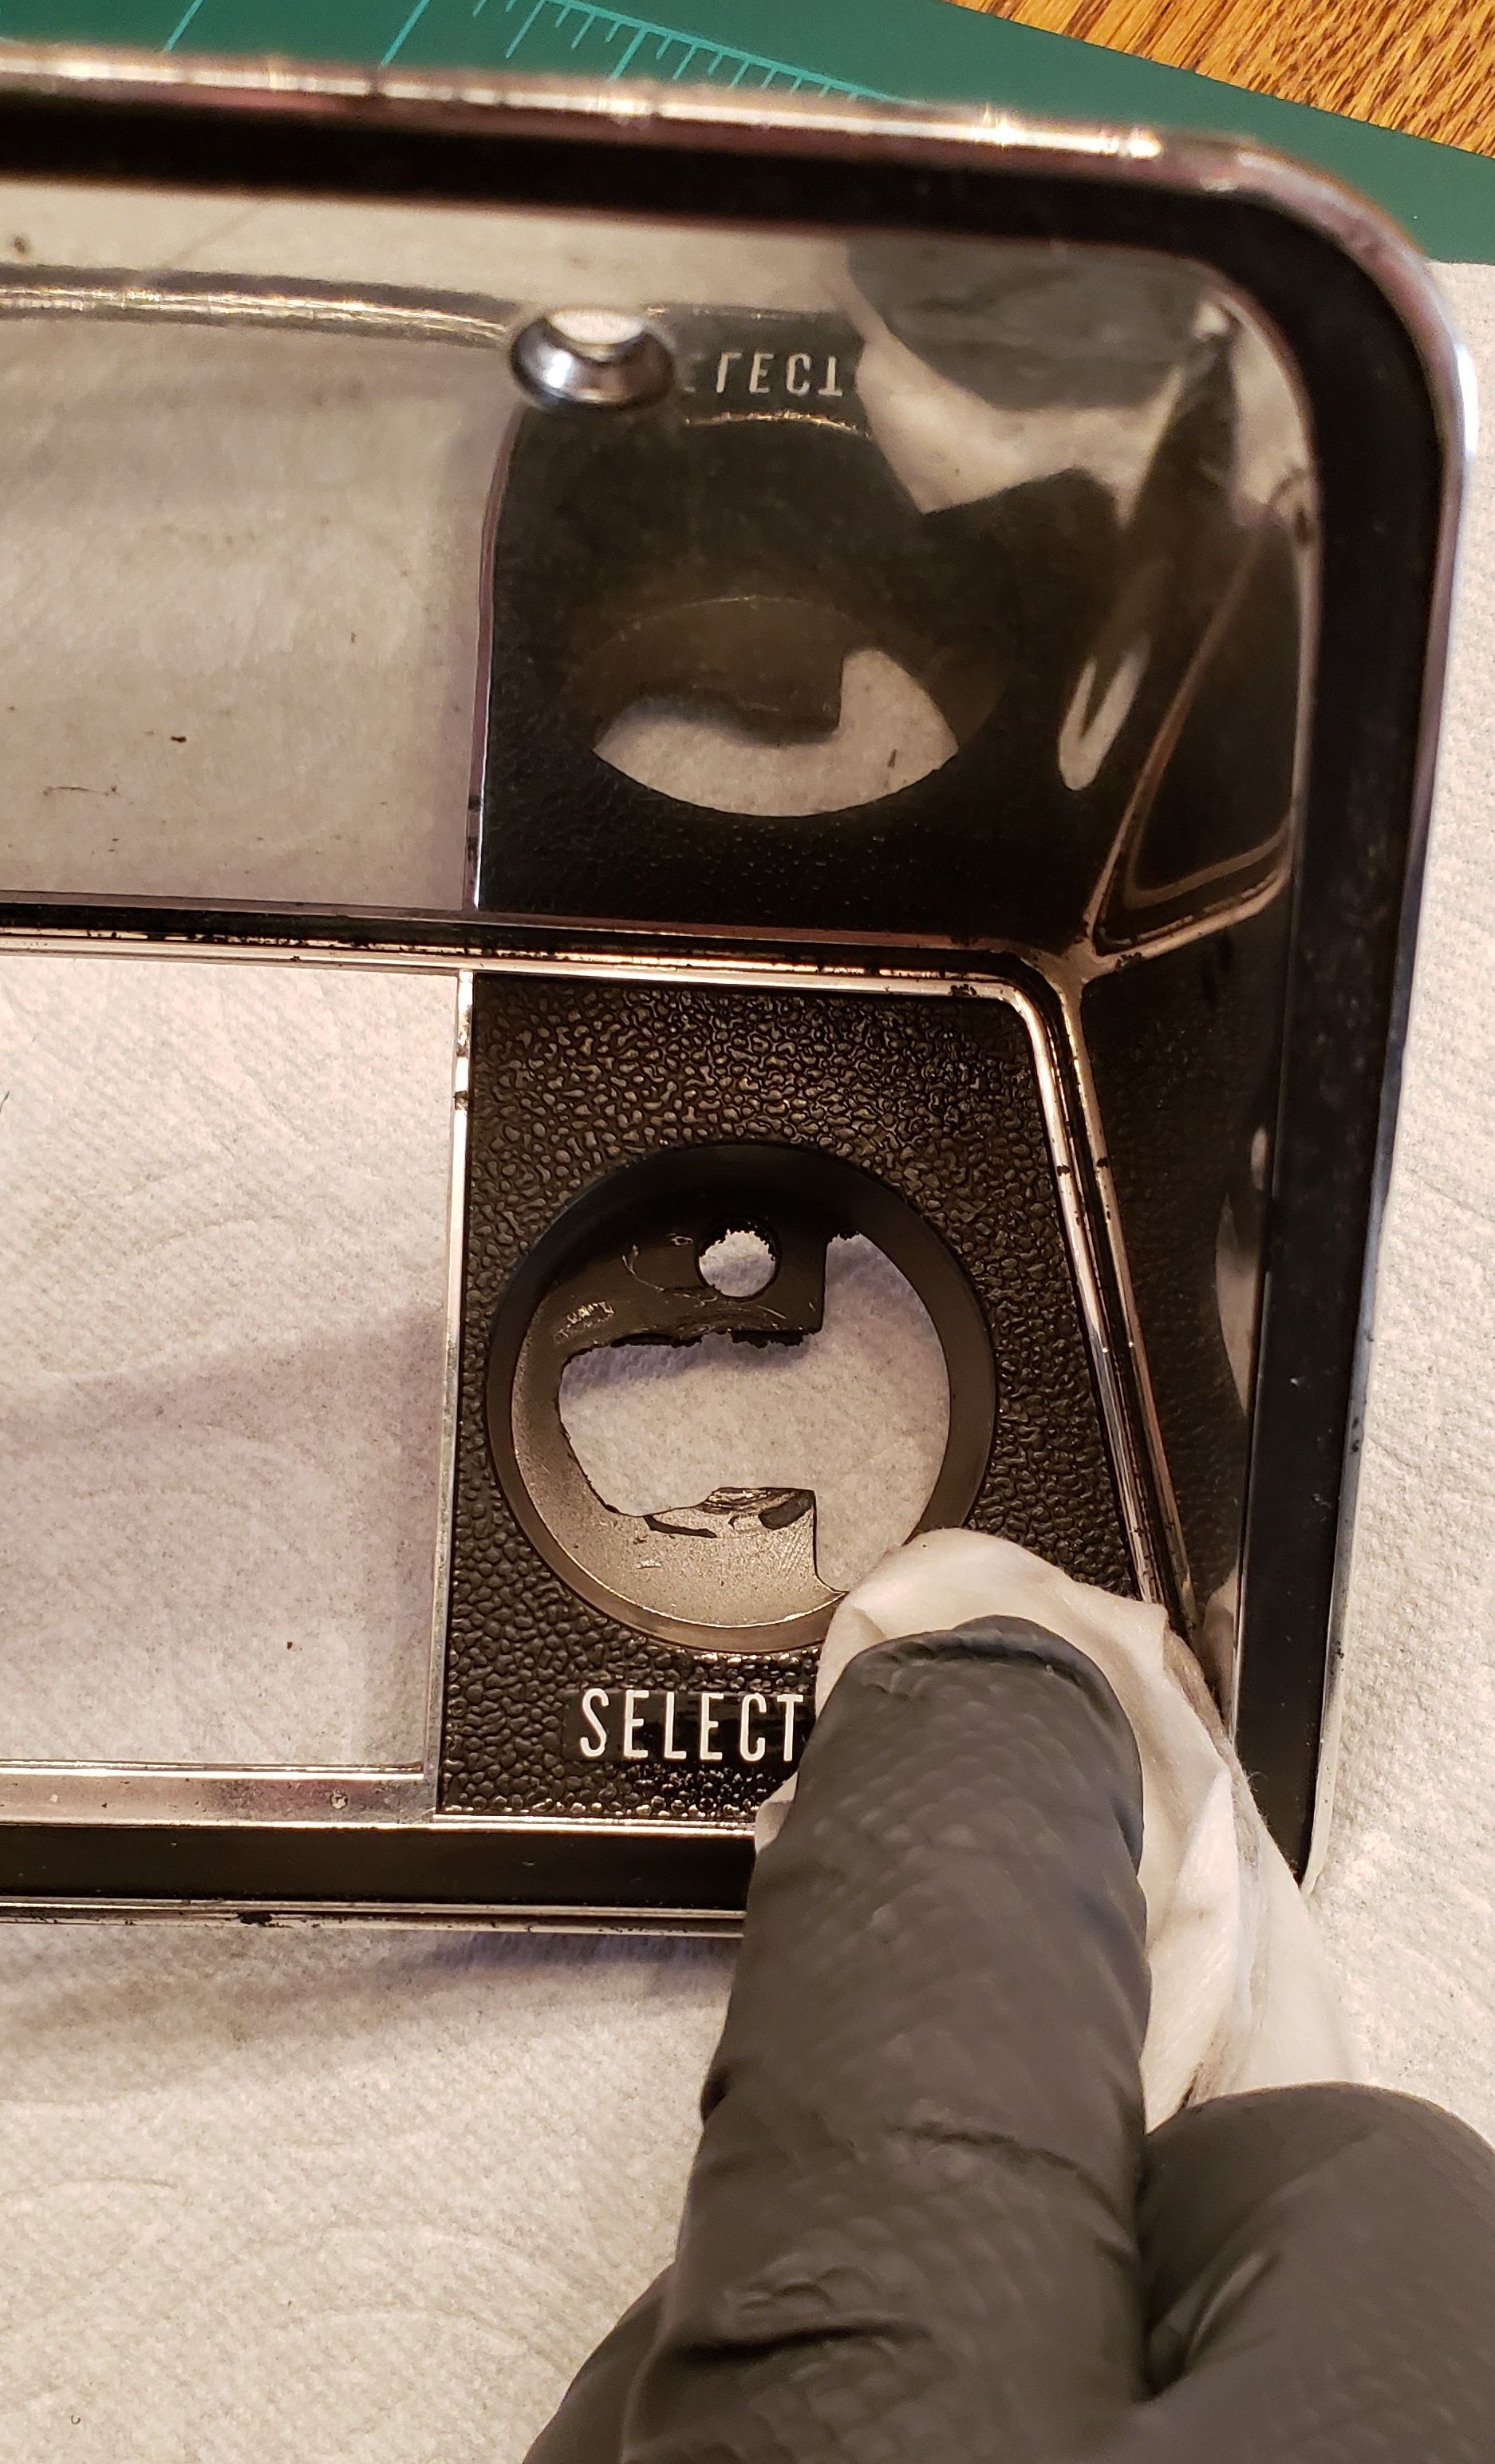
If installing an aftermarket radio bezel (The Parts Place), you should consider grinding off the “Volume” and “Selector” raised lettering that comes molded into this piece. ( I used a Dremel tool with a small round engraving cutter as shown below). This way the inserts will sit flat and bond fully .

Remove Old Adhesive
Use Goo Gone (or an equivalent adhesive remover which is safe to be used on plastic) and a clean rag to remove any remnants of the old glue.

Wash Bezels
Use water, dish soap, and a small brush to clean the plastic bezel surfaces that the new inserts will be bonded to. This will remove any remaining dirt or grease to promote good adhesion. Finally, towel the water off and let them completely air dry. (Be careful not to get any gauges wet during this step if they are still mounted).
Final Cleaning
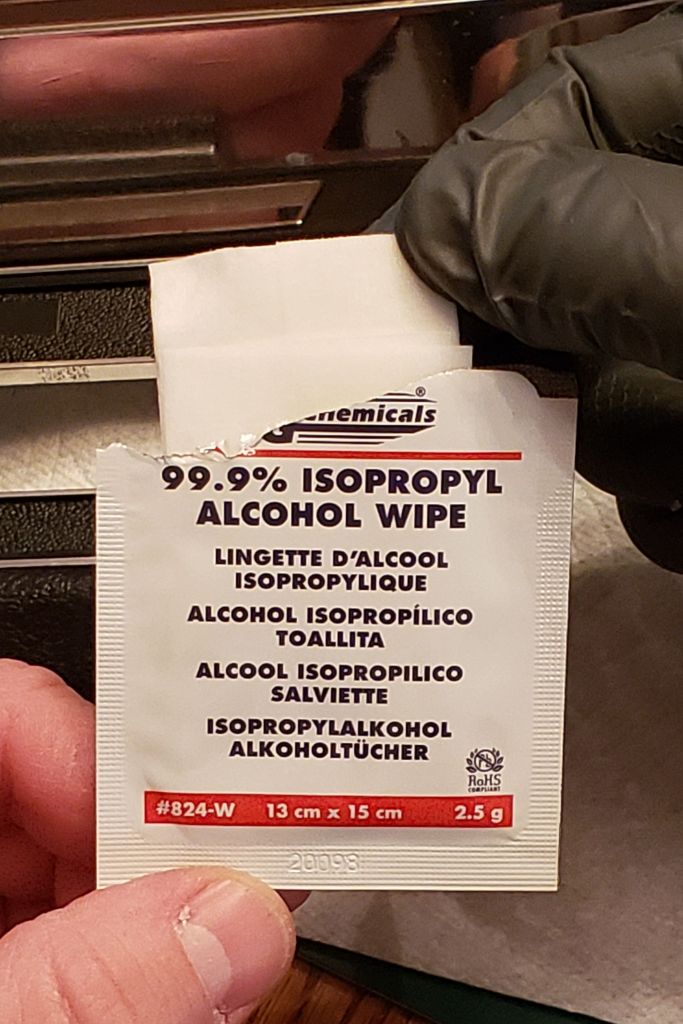
Place both bezels on a protective mat set on top of a sturdy, clean, and well lit table. Position them so that they are flat and level. The larger bezel will need to be propped up in front if the gauges are still mounted. Once they are sitting in a good position, use the two alcohol wipes (provided) to clean and remove any surface oils off the bezel surfaces to be bonded. These are very pure wipes recommended by 3M to insure oil-free surfaces so that maximum bonding strength will be obtained.
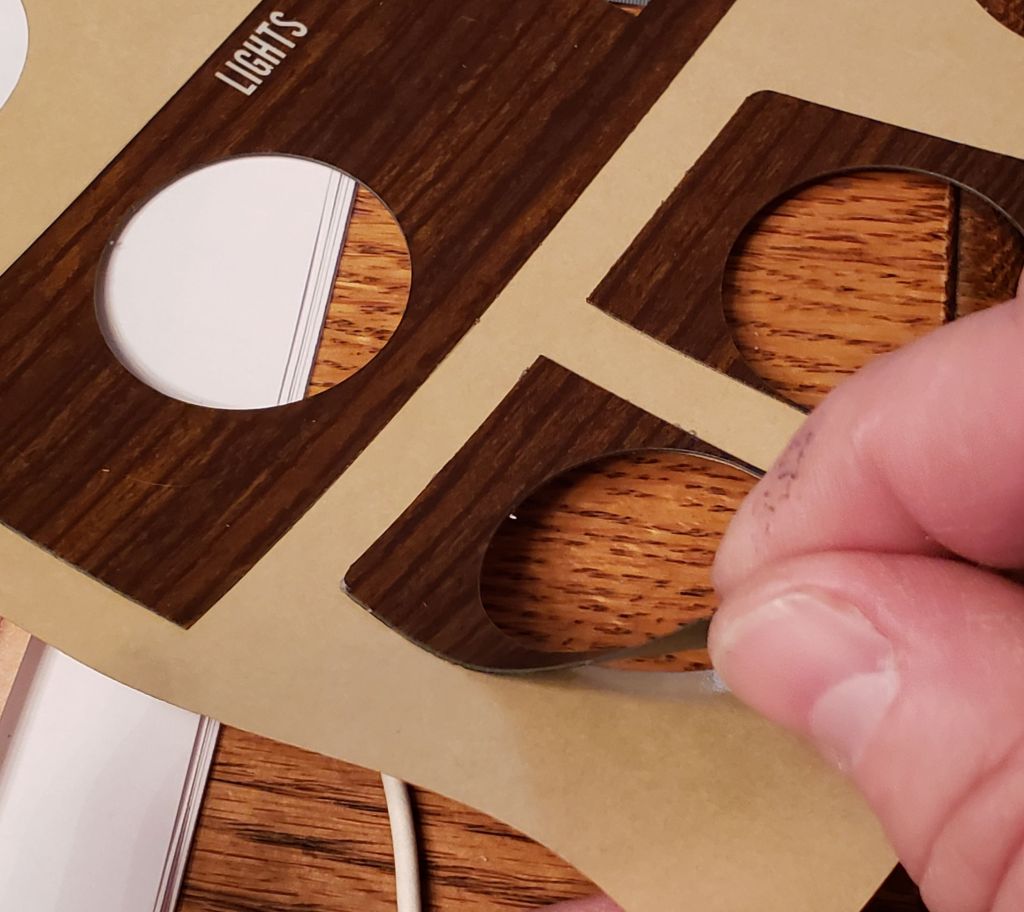
Placing Inserts
This step requires full concentration. The 3M adhesive is sticky so you will need to place the insert down accurately on the cleaned bezel on the first attempt. Gently peel the insert off the backing sheet, one at a time, and adhere it to the appropriate spot using the piece specific alignment tips below.
Piece Specific Alignment Tips

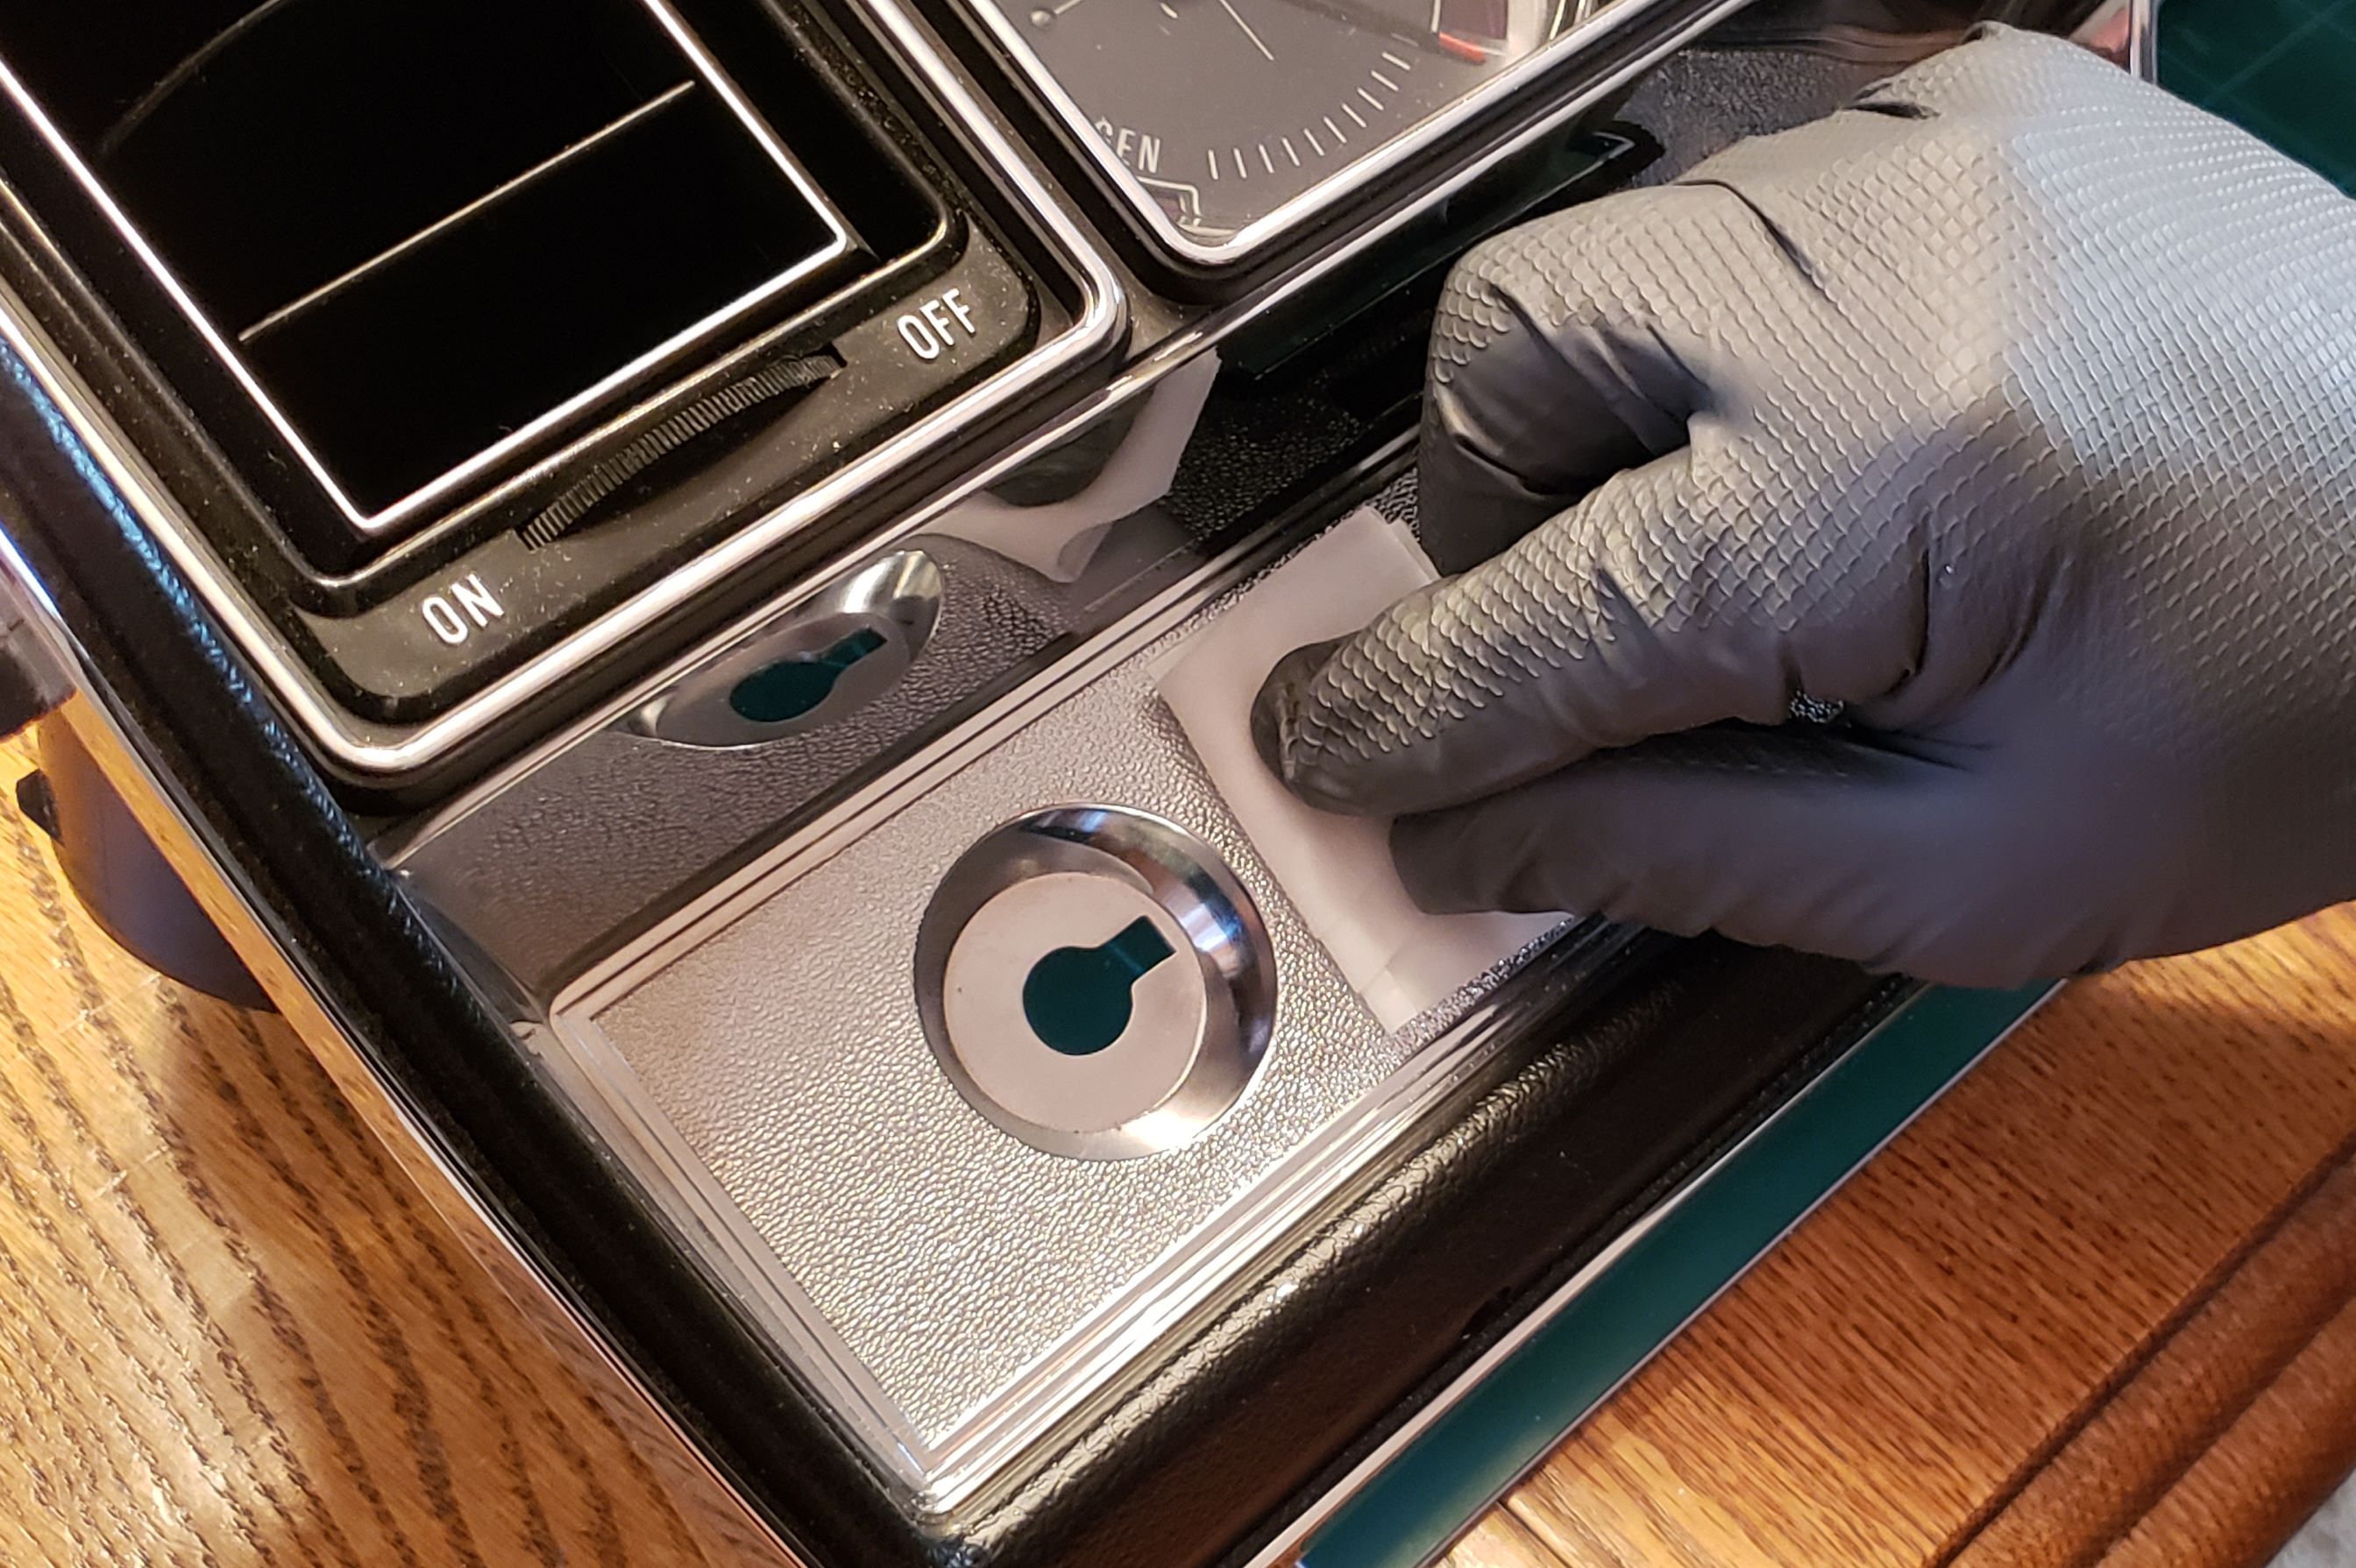
Lighter and Radio
Align the flat edge of the insert with bezel frame and gently place that edge down to get it started. Then slowly lay the rest of the insert down (either left to right or right to left) so air doesn’t get trapped and it lays flat. Finally, apply pressure over the entire surface for approximately 5 minutes.
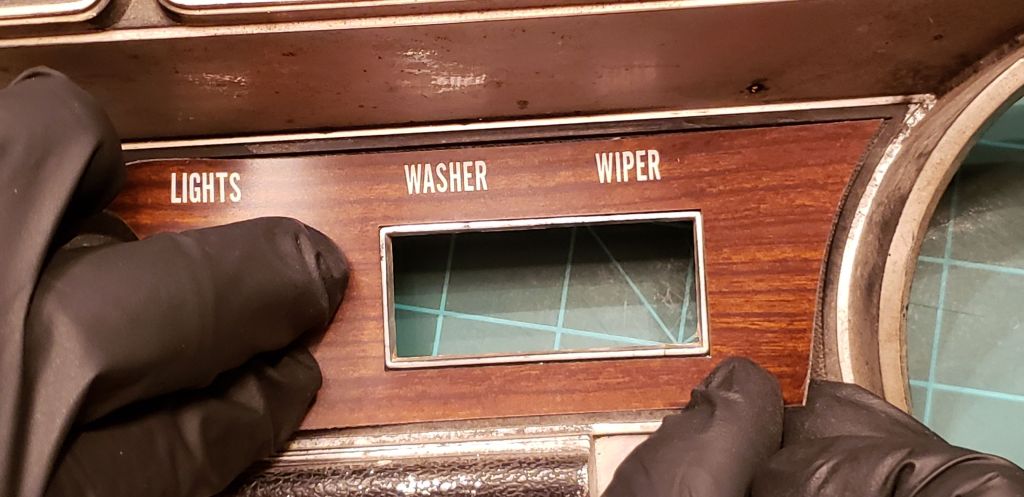
Lights – Washer – Wiper
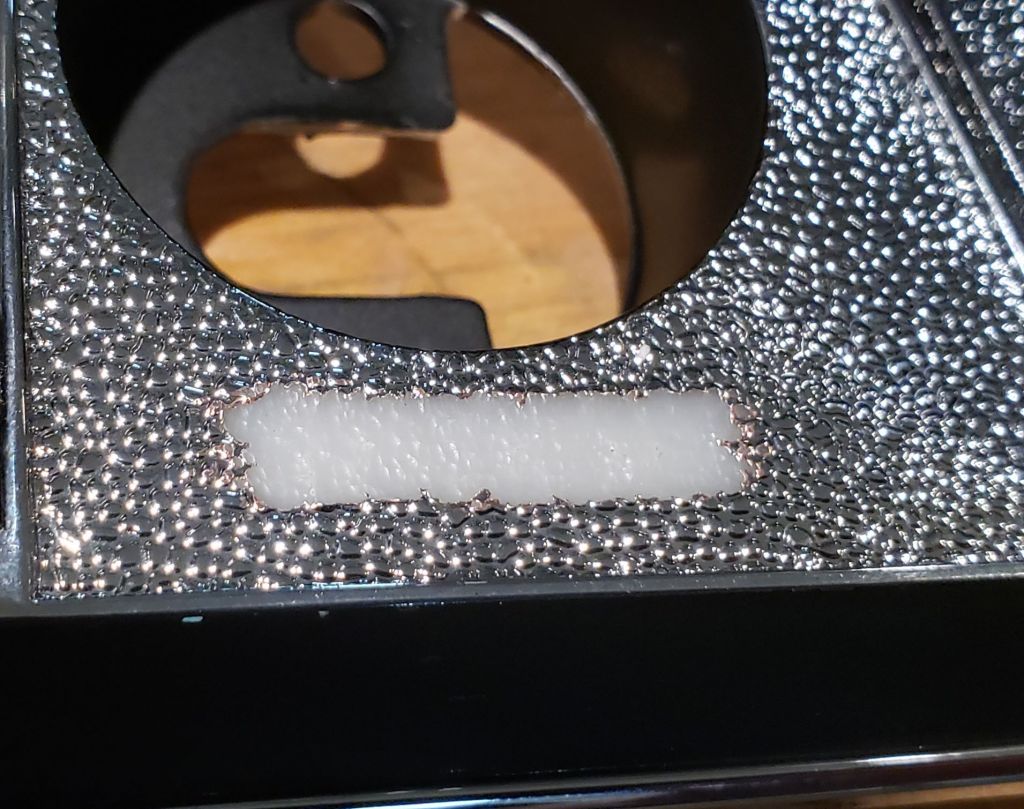
Position the rectangular box in this insert around the box molded in the bezel frame for the washer / wiper switch. Carefully lay it down just around the box. Then slowly lay the rest of the insert down (from inside outwards) so air doesn’t get trapped and it lays flat. Finally, apply pressure over the entire surface for approximately 5 minutes.

Climate / Heater Control
Position the rectangular box in this insert around the box molded in the heater / climate control face-plate for the sliding lever(s). Carefully lay it down just around the box. Then slowly lay the rest of the insert down (from inside outwards) so air doesn’t get trapped and it lays flat. Finally, apply pressure over the entire surface for approximately 5 minutes.
